
Understanding Custom.dll for Schedule 1 Errors
A custom.dll file is a Dynamic Link Library component essential for the functioning of certain Windows applications. Specifically, Schedule 1 DLLs are often linked with task scheduling applications or software modules that automate tasks in Windows. When this file is missing, corrupted, or incompatible, applications fail to launch, and error messages appear.
Common symptoms include:
"custom.dll is missing" or "custom.dll not found" errors.
Applications crashing on startup.
Slow system performance or instability.
Frequent Windows error pop-ups related to DLL files.
These errors may occur due to malware infections, accidental file deletion, registry corruption, or improper software installation. Resolving them quickly is crucial to maintaining a functional PC environment.
Step-by-Step Methods to Fix Custom.dll for Schedule 1
Fixing custom.dll for Schedule 1 requires precise methods to avoid further complications. Here are the most reliable approaches:
1. Reinstall the Application
When an application fails due to custom.dll errors, it is often because the software installation is incomplete or corrupted.
Steps:
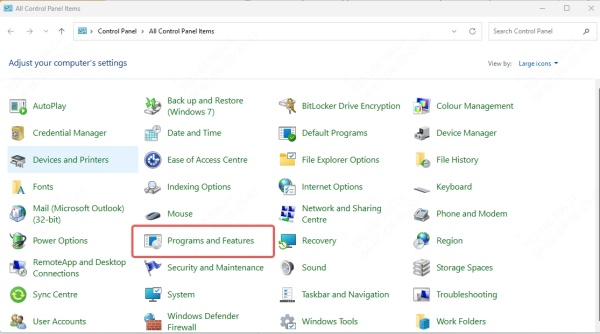
Uninstall the affected application via Control Panel > Programs and Features.
Delete leftover files in C:\Program Files or C:\Program Files (x86).
Reinstall the latest version of the software from the official website.
Restart your PC to ensure changes take effect.
This method restores missing or damaged DLLs automatically and ensures full compatibility with your system.
2. Restore Custom.dll from the Recycle Bin
If custom.dll was accidentally deleted, it might still be in the Recycle Bin. Restoring it is often a quick fix.
Steps:
Open Recycle Bin.
Search for custom.dll.
Right-click and select Restore.
Restart your system to apply changes.
This simple method prevents unnecessary software reinstallations and keeps your system intact.
3. Download Custom.dll from Trusted Sources
In cases where custom.dll is permanently missing, downloading it from a reliable source can resolve the error.
Steps:
Use reputable DLL repositories or official software sites.
Ensure the downloaded DLL version matches your Windows architecture (32-bit or 64-bit).
Place the DLL in the application directory or C:\Windows\System32 for 32-bit or C:\Windows\SysWOW64 for 64-bit.
Register the DLL using Command Prompt: regsvr32 custom.dll
Always avoid unknown sources to prevent malware infections.
4. Run System File Checker (SFC)
Windows includes a built-in System File Checker that repairs corrupted DLLs automatically.
Steps:
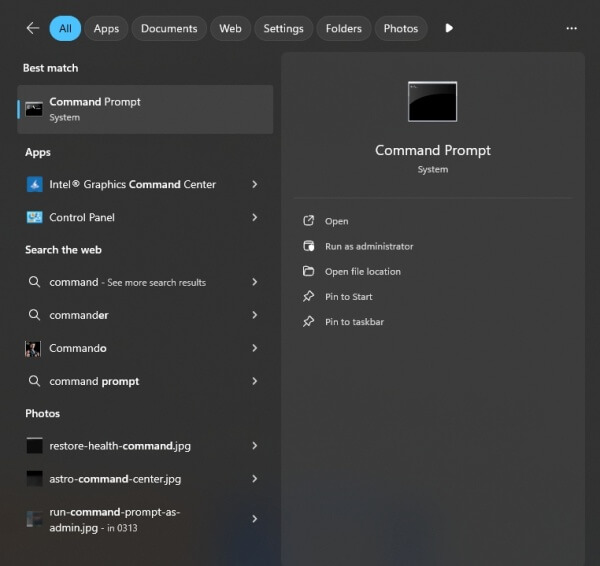
Open Command Prompt as Administrator.
Type: sfc /scannow
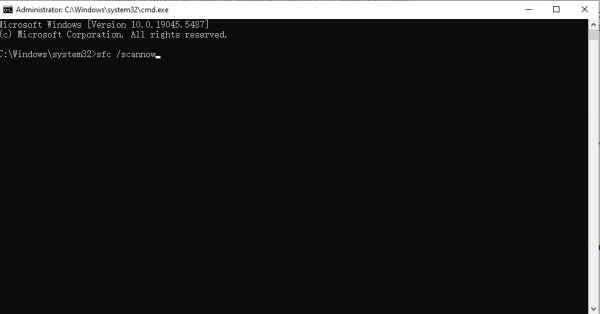
Press Enter and allow the process to complete.
Restart your PC to verify the fix.
SFC scans the entire system for missing or damaged DLL files and restores them, ensuring long-term stability.
5. Update Windows and Drivers
Outdated Windows systems or drivers can cause custom.dll for Schedule 1 errors. Ensuring your system is fully updated often resolves these issues.
Steps:
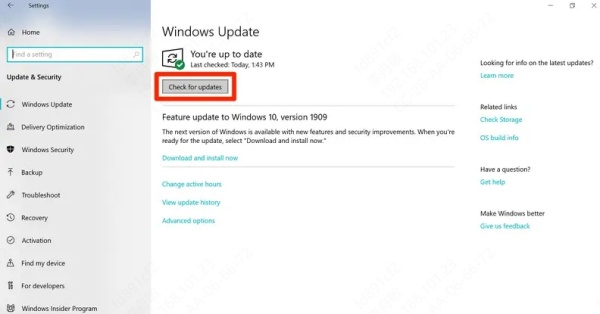
Go to Settings > Update & Security > Windows Update.
Click Check for updates and install all pending updates.
Update graphics and system drivers using Device Manager or a professional tool like PcGoGo DLL Fixer.
PcGoGo DLL Fixer scans your PC for missing or corrupted DLLs, automatically downloads the correct versions, and ensures your drivers are updated for optimal system performance.
6. Scan for Malware and Viruses
Malware often targets DLL files, including custom.dll, causing corruption or deletion. Running a full system scan ensures no malicious software interferes with your applications.
Steps:
Use Windows Defender or a trusted antivirus solution.
Perform a full system scan.
Quarantine or remove detected threats.
Restart your system to confirm resolution.
Regular scans prevent future DLL errors and maintain system integrity.
7. Repair Windows Registry
Corrupt registry entries linked to custom.dll can trigger errors during application launch. Using a registry cleaner or PcGoGo DLL Fixer helps repair these entries safely.
Steps:
Backup your registry using regedit > File > Export.
Run a trusted registry repair tool or PcGoGo DLL Fixer.
Scan and fix issues related to missing or invalid DLL paths.
Restart the system to apply changes.
This ensures Windows recognizes all DLL locations accurately, preventing recurring errors.
Conclusion
Fixing custom.dll for Schedule 1 errors requires precise steps to restore system stability. Whether it’s reinstalling applications, running SFC scans, updating drivers, or leveraging PcGoGo DLL Fixer, these methods address the problem comprehensively. By maintaining proper system hygiene and using trusted tools, users can ensure a smooth, error-free Windows experience.
