

The Epson L210 driver is essential for ensuring that your Epson L210 printer operates smoothly with your computer. Without the correct driver, printing and scanning tasks may fail, leading to frustration. In this guide, we cover how to download, install, and update the L210 Epson printer driver to keep your device running flawlessly.
Why the Epson L210 Driver Is Important
The L210 Epson printer driver acts as a communication bridge between your operating system and the printer hardware. Installing the correct driver ensures compatibility, optimal performance, and access to advanced features such as high-quality printing, fast scanning, and ink management.
By keeping your driver Epson L210 download up to date, you reduce printing errors, prevent crashes, and maintain productivity.
Where to Download Epson L210 Driver
Getting the driver from a safe and reliable source is crucial. There are two recommended methods to download the official Epson L210 driver.
1. Epson Official Website
Visit the official Epson support page
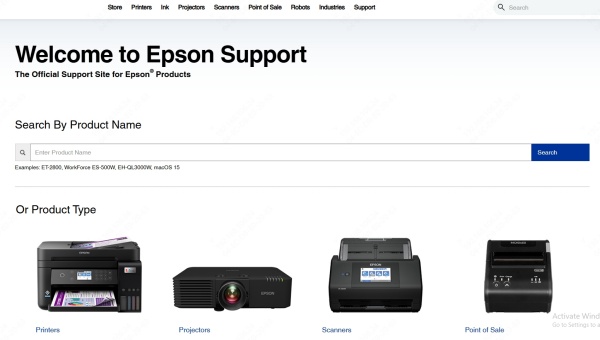
Search for "Epson L210" in the drivers and downloads section.
Choose your operating system (Windows or macOS).
Click on driver Epson L210 download and save the file.
2. PcGoGo Driver Sentry
Manually searching for drivers can be time-consuming. PcGoGo Driver Sentry simplifies the process by automatically detecting outdated or missing drivers on your system. With just one click, it installs the latest L210 Epson printer driver directly from trusted sources, ensuring maximum security and efficiency.
Step-by-Step Installation Guide for Epson L210 Driver
Once you have downloaded the Epson L210 driver, the next step is proper installation. Below are detailed steps for both Windows and Mac users.
Installing Epson L210 Driver on Windows
Locate the downloaded driver file in your Downloads folder.
Double-click the setup file (.exe).
Follow the on-screen instructions provided by Epson's installation wizard.
Connect your Epson L210 printer via USB when prompted.
Restart your PC to complete the setup.
Updating Epson L210 Driver Automatically
Over time, drivers can become outdated, leading to reduced performance and errors. Instead of manually searching for updates, you can rely on PcGoGo Driver Sentry.
Why Use PcGoGo Driver Sentry?
Automatic detection of outdated drivers.
One-click update for Epson L210 driver and all other device drivers.
Ensures maximum compatibility with the latest Windows and macOS updates.
Protects against driver-related system crashes.
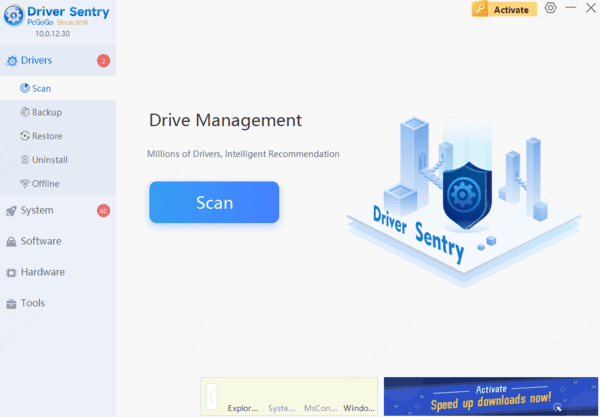
With PcGoGo Driver Sentry, you no longer need to search for driver Epson L210 download files manually. It saves time and guarantees you always have the latest and most stable driver installed.
Compatibility of Epson L210 Driver
Before downloading, confirm that the driver Epson L210 download matches your operating system.
Windows: Windows 11, Windows 10, Windows 8.1, Windows 8, Windows 7 (32-bit & 64-bit).
Mac: macOS Ventura, Monterey, Big Sur, Catalina, Mojave, and earlier versions.
Using the correct driver version ensures seamless connectivity and smooth printer performance.
Conclusion
The Epson L210 driver is a vital component for ensuring your printer functions at its best. Whether you're downloading the driver Epson L210 from the official website or choosing the convenience of PcGoGo Driver Sentry, having the correct driver installed guarantees smooth printing and scanning.
If you want a hassle-free experience, we recommend PcGoGo Driver Sentry, which automatically updates the L210 Epson printer driver along with all other system drivers in one click. This ensures top performance, compatibility, and long-term reliability for your Epson L210 printer.
