

This article explains the common causes of the Kernel Power 41 Critical Error and covers 5 fixes ranked by effectiveness, including updating drivers automatically with PcGoGo Driver Sentry, checking the power supply and hardware for faults, disabling Fast Startup, running Windows Memory Diagnostic, and resetting BIOS settings.
What Causes Kernel Power 41 Critical Error?
The Kernel-Power 41 (63) error indicates that Windows shut down unexpectedly without a proper log. Common causes include:
Faulty or outdated drivers (especially GPU, chipset, and power-related drivers)
Power supply issues (PSU failure, unstable voltage)
Overheating (CPU/GPU thermal throttling)
Faulty hardware (RAM, motherboard, or GPU problems)
Windows corruption or misconfigured power settings
Check Power Supply & Hardware
Test your PSU – Use a power supply tester or swap with a known-good unit.
Reseat hardware – Remove and reinsert RAM, GPU, and power cables.
Monitor temperatures – Use HWMonitor to check for overheating.
Disable Fast Startup
Open Control Panel > Power Options.
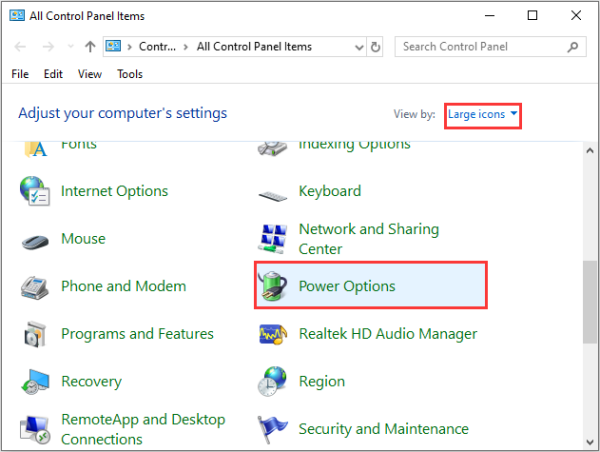
Click Choose what the power buttons do.
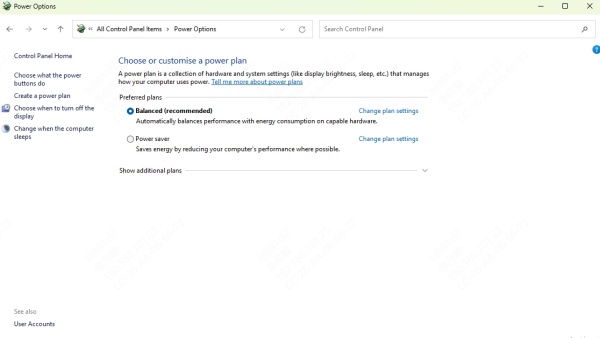
Uncheck Turn on fast startup and save changes.

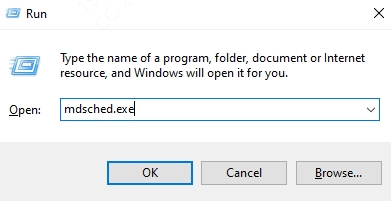
Run Windows Memory Diagnostic
Press Win + R, type mdsched.exe, and hit Enter.
Choose Restart now and check for problems.
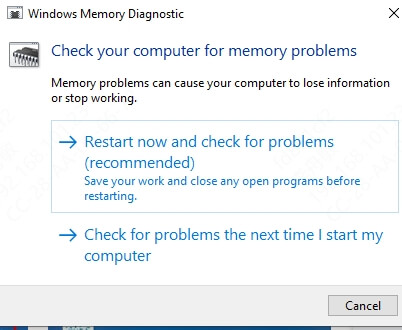
Review results after reboot.
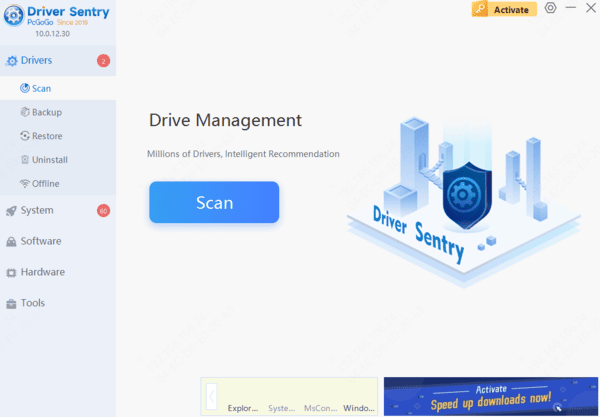
Update Drivers
Outdated or corrupt drivers are a leading cause of this error. Manually updating drivers can be tedious, so we recommend PcGoGo Driver Sentry for automatic driver management.
Reset BIOS/UEFI Settings
Restart and enter BIOS/UEFI (usually Del/F2/F12).
Load default settings and save.
Disable overclocking if enabled
