





When Logitech K520 letter keys stop working, the problem is often caused by connection issues, low batteries, wireless interference, Windows settings, or driver problems rather than hardware failure. This guide explains the common causes and provides practical fixes, including re-pairing the keyboard, adjusting Windows settings, repairing drivers, and troubleshooting hardware issues.
Check Batteries and the Power Switch
Confirm the power switch on the bottom of the keyboard is in the on position. The green indicator should be visible through the small window next to the switch. A keyboard that is physically switched off will not respond to any key regardless of the battery level or USB connection.
Fix 1: Check Num Lock and Windows Accessibility Settings
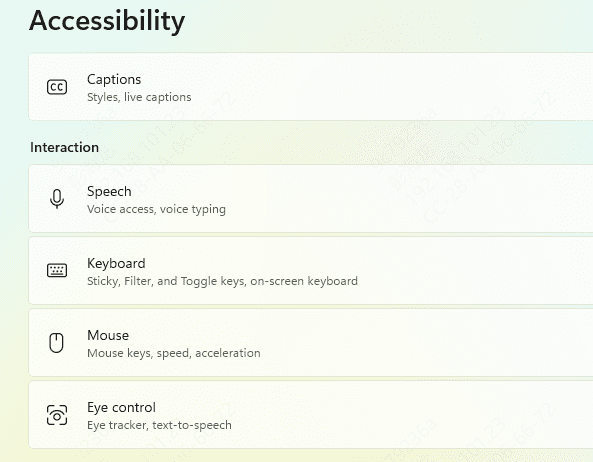
Check Filter Keys in Windows. When Filter Keys is enabled, Windows ignores brief or repeated keystrokes, which can make letter keys appear unresponsive when they are actually being filtered out
Go to Settings, then Ease of Access, then Keyboard, and confirm Filter Keys is toggled off. Confirm Sticky Keys is also turned off in the same section
Fix 2: Re-pair the Keyboard with the Unifying Receiver
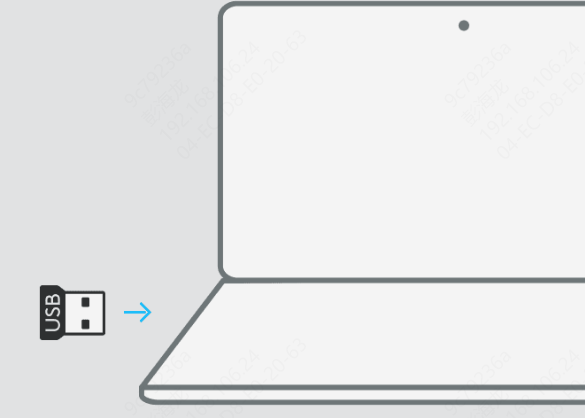
Re-pairing through Logitech Unifying Software is the most reliable method. Install Logitech Unifying Software from Logitech's official support site. Plug the Unifying receiver into a USB port
Open the software and click the plus icon to add a device. Turn the K520 off using the power switch, then back on. The software detects the keyboard and re-establishes the pairing automatically
Fix 3: Move the Unifying Receiver to Reduce Interference
Move the Unifying receiver to a USB 2.0 port. USB 2.0 ports are typically black rather than blue
On desktops, front panel USB 2.0 ports are often a better choice than rear ports because they are physically closer to the keyboard's position on the desk
Fix 4: Check Keyboard Driver
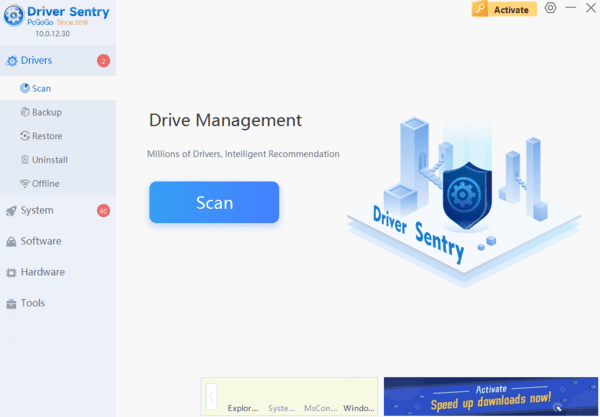
When reinstalling through Device Manager does not resolve the letter key issue, or when the HID driver needs a more complete repair than a standard uninstall and reinstall provides, Driver Sentry identifies the keyboard hardware and installs the correct driver version automatically.
Fix 5: Disable USB Selective Suspend
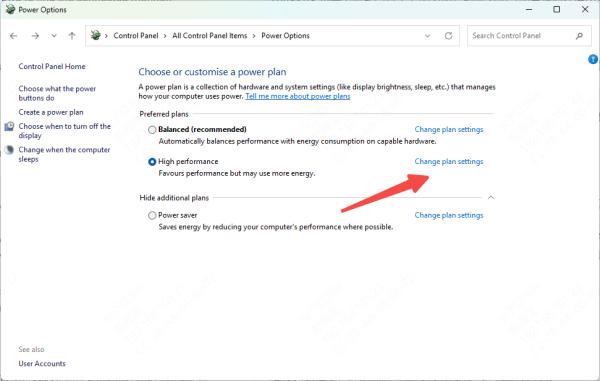
Open the Control Panel and go to Power Options. Click Change plan settings next to the active plan, then Change advanced power settings. Expand USB settings, then USB selective suspend setting, and change it to Disabled
Also open Device Manager and expand Universal Serial Bus controllers. Right-click each USB Root Hub entry, select Properties, go to the Power Management tab, and uncheck "Allow the computer to turn off this device to save power"
Fix 6: Check for Stuck Keys and Clean the Keyboard
A physically stuck key in the keyboard matrix can prevent nearby keys or the entire keyboard from registering input correctly. Press each letter key individually and confirm it springs back freely after pressing
Turn the keyboard upside down and shake gently to dislodge any loose particles. Use compressed air between the keycaps to clear dust and crumbs that may be holding keys partially depressed. Avoid liquid cleaners inside the keyboard
Fix 7: Test the Keyboard on Another PC
Plug the Unifying receiver into a different PC and test all letter keys. This distinguishes between a keyboard or receiver hardware problem and a Windows software issue on the original PC
If the keyboard does not work on the second PC either, the keyboard or Unifying receiver is defective. Contact Logitech support with the purchase details — the K520 has a standard manufacturer warranty and Logitech's support typically offers replacement for verified hardware defects
Conclusion
Most Logitech K520 letter key failures trace back to low batteries, a lost pairing with the Unifying receiver, or 2.4GHz interference from a USB 3.0 port. Replacing the batteries and re-pairing through Logitech Unifying Software resolves the majority of cases. Moving the receiver to a USB 2.0 port or using an extension cable eliminates interference-related dropout. For driver-related failures, uninstalling and reinstalling through Device Manager or using Driver Sentry covers both standard and specialized HID driver repair scenarios.