

Svchost.exe is a legitimate Windows system process called Service Host. It acts as a container for running Windows services, and multiple instances run simultaneously — each hosting one or more services. Seeing svchost.exe in Task Manager is normal. Seeing one instance consuming 50 to 100 percent CPU is not. The problem is never svchost.exe itself. The problem is always one of the services running inside it. The fix depends entirely on identifying which service is responsible. This guide starts with that identification step, then covers every targeted fix.
Identify Which Service Is Causing the High CPU
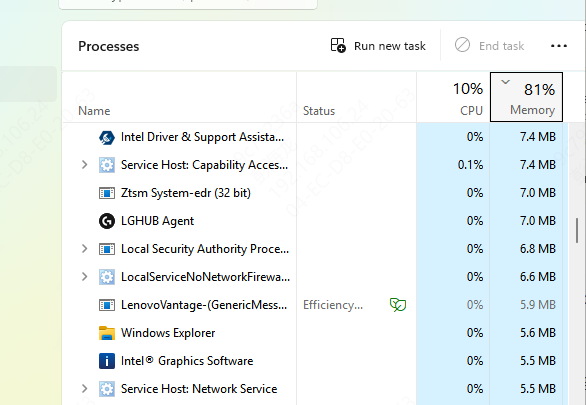
Press Ctrl + Shift + Esc to open Task Manager. If it opens in compact view, click More details. Go to the Processes tab. Find the svchost.exe instance with the highest CPU usage. Right-click it and select Go to details
The Details tab opens with that svchost.exe instance highlighted. Right-click the highlighted entry and select Go to service(s)
Fix 1: Let Windows Update Finish
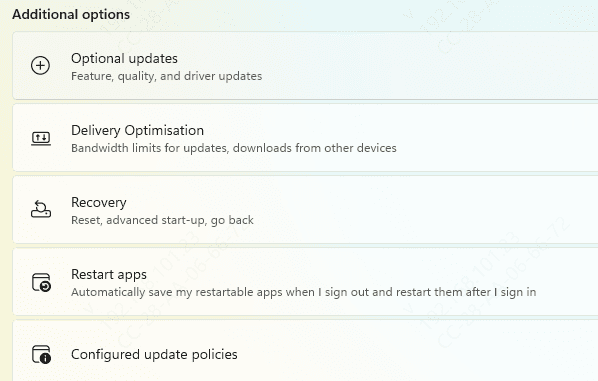
Go to Settings, then Windows Update, and confirm that updates are actively in progress. If they are, leave the PC running and allow them to complete. Force a restart if an update appears to be waiting for one
If Windows Update has been stuck at the same progress percentage for several hours without moving, the update process is likely looping. Go to Settings, then Windows Update, and pause updates temporarily. Restart the PC. Re-enable updates and allow them to resume from a fresh start
Fix 2: Restart the Windows Update Service and Clear the Cache
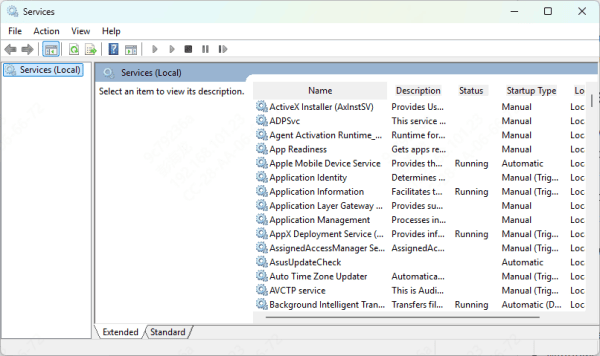
Press Win + R, type services.msc, and press Enter. Find Windows Update in the list, right-click it, and select Stop
Open File Explorer and navigate to C:\Windows\SoftwareDistribution. Delete all the contents inside this folder — the files and subfolders inside it, not the folder itself
Return to services.msc, find Windows Update, right-click it, and select Start. Monitor CPU usage after the service restarts. The update service will rebuild its cache cleanly and the looping behavior should stop
Fix 3: Address Windows Search Indexing
To reduce the indexing load, open File Explorer, right-click the C: drive, select Properties, and uncheck "Allow files on this drive to have contents indexed in addition to file properties." Apply to all subfolders when prompted. This reduces the scope of indexing significantly
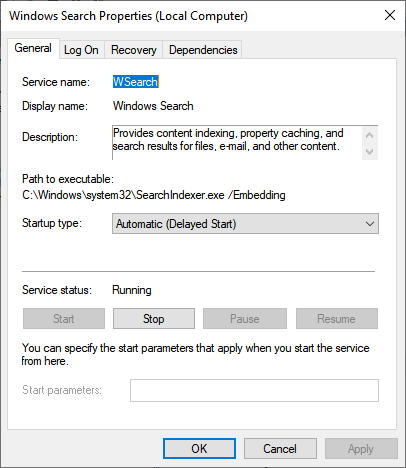
If search functionality is not regularly needed, disabling the service entirely stops the CPU usage permanently. Open services.msc, find Windows Search, right-click it, select Properties, set Startup type to Disabled, and click Stop. Click OK
Fix 4: Update or Fix Problematic Drivers
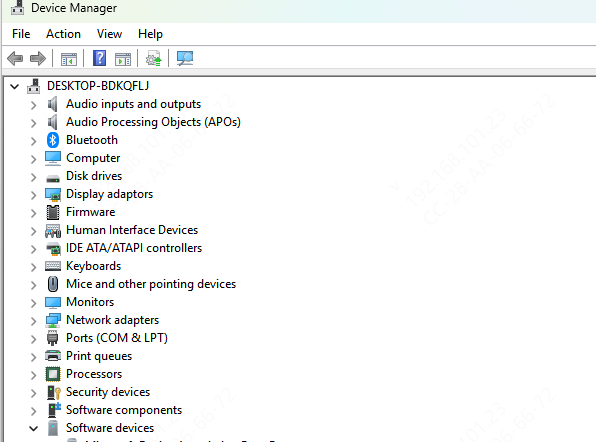
If the high-CPU svchost is hosting network-related services, the network adapter driver is the first target. Open Device Manager, expand Network Adapters, right-click the network adapter, and select Update driver. If updating does not resolve it, uninstall the driver with the delete option and reinstall from the laptop or motherboard manufacturer's support site.
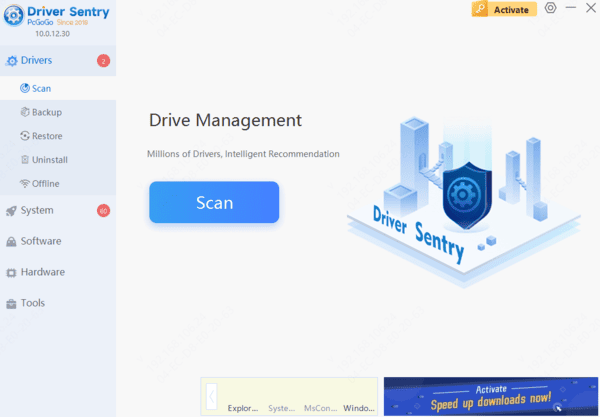
For automated repair across all potential driver issues, download and install Driver Sentry. Open Driver Sentry and go to the Drivers tab. Click Diagnose. Find flagged entries for the network adapter, audio device, or chipset. Click Full Repair. Restart the PC and monitor the CPU usage in Task Manager.
Fix 5: Scan for Malware
Run a full scan with Windows Defender. Open Windows Security, go to Virus and threat protection, run a Quick scan, then follow it with a Full scan. Also run the Windows Malicious Software Removal Tool by pressing Win + R, typing mrt, and pressing Enter. Select Full scan and allow it to complete
Restart after any threats are removed and monitor CPU usage

Fix 6: Manage Windows Event Log
Press Win + R, type eventvwr.msc, and press Enter. Expand Windows Logs. Right-click Application, then System, then check the current log size against the maximum. If either log is at or near capacity, right-click it and select Clear Log
If the event log fills rapidly due to a repeating error, look at the most frequent error entries. The source and event ID of the most repeated error point to the root cause. Resolving that underlying issue stops the log from filling and the eventlog service from consuming CPU
Fix 7: Adjust Virtual Memory Settings
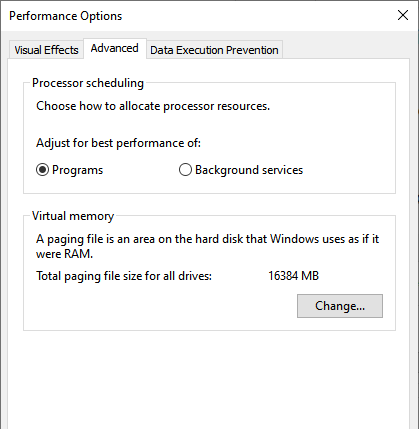
Press the Windows key, search for "Adjust the appearance and performance of Windows," and open it. Go to the Advanced tab, click Change under Virtual Memory, and uncheck "Automatically manage paging file size for all drives"
Select the system drive, choose Custom size, set the Initial size to 1.5 times the installed RAM in megabytes, and set the Maximum size to 3 times the installed RAM. Click Set, then OK, and restart
Conclusion
Svchost high CPU is caused by Windows Update activity, a looping or corrupted Windows service, a driver failure creating a service error loop, or malware. Identifying the specific service through Task Manager is the required first step — applying fixes without knowing which service is responsible wastes time. Windows Update and Windows Search indexing are the most common causes and are resolved quickly. For driver-related service loops, updating the relevant driver through Device Manager or using Driver Sentry for automated repair stops the loop. If the svchost.exe file runs from any location other than C:\Windows\System32, treat it as malware and run a full scan immediately.
