Experiencing mouse lag and sluggish response is a common frustration among laptop users. These issues not only reduce productivity but can also negatively affect your work or gaming experience. This article provides practical solutions to help you restore smooth mouse operation efficiently.
1. Check for Driver Updates
Outdated or incompatible mouse drivers can easily cause lagging or unresponsiveness. Ensuring your drivers are up to date is a key step in solving the problem. It's recommend to use Driver Sentry to automatically detect and update device drivers—saving you time and helping avoid the risk of installing the wrong drivers.
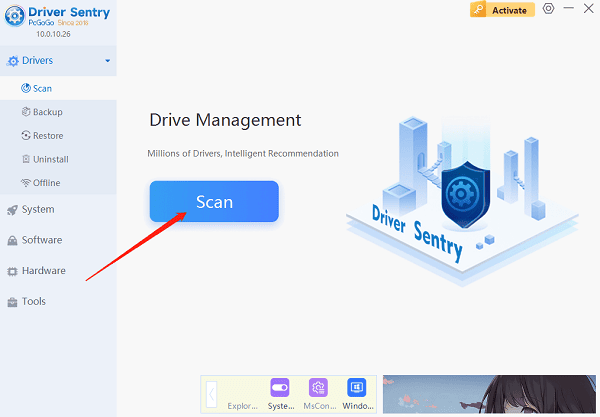
Click the download button to get the latest version of Driver Sentry. After installation, launch the software and click "Scan".

Once the scan is complete, it will display a list of drivers that are missing or outdated. Find the mouse driver in the list and click the "Upgrade" button.
After the update is complete, restart your computer to ensure the new driver is fully applied.
2. Check USB Ports and Connections
Try plugging the mouse into a different USB port to rule out port damage or poor contact.
If using a wireless mouse, make sure the receiver is firmly connected and kept away from interference sources (e.g., near USB 3.0 ports).
Clean the USB port using a cotton swab or air duster to remove any dust or debris.
If possible, test the mouse on another computer to see if the issue persists. This helps determine whether the problem lies with the mouse itself.
3. Reset Touchpad and Mouse Settings
Go to "Settings" > "Devices" > "Mouse", then click "Additional mouse options" on the right side.
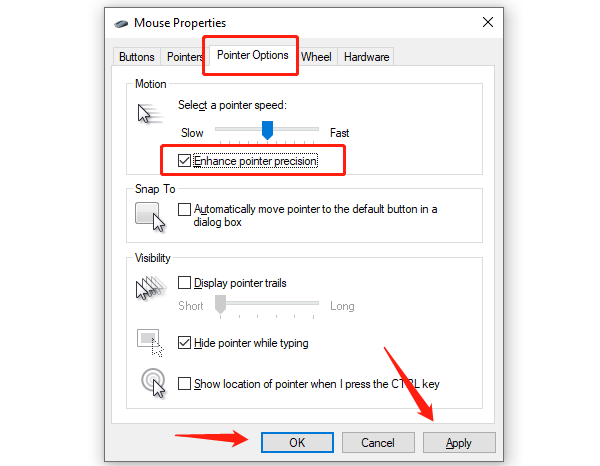
In the "Mouse Properties" window, check the "Pointer Options" tab and adjust pointer speed and precision.

For touchpad users:
Navigate to the "Touchpad" tab under the "Devices" menu.
Disable unnecessary gestures or reduce sensitivity.
Click "Reset" to restore default settings.
If you're using a branded mouse (e.g., Logitech or Razer), open its official software and reset the device settings there.
4. Repair System Files
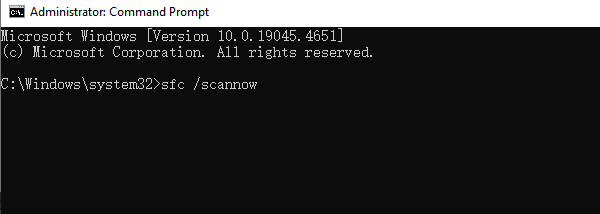
In the search bar, type "cmd", then right-click and select "Run as administrator".
Enter the following command and press Enter: sfc /scannow

The system will scan and repair any corrupted files—this may take several minutes.
Once done, restart your computer and test the mouse again.
5. Scan for Malware
Go to "Settings" > "Update & Security" > "Windows Security".
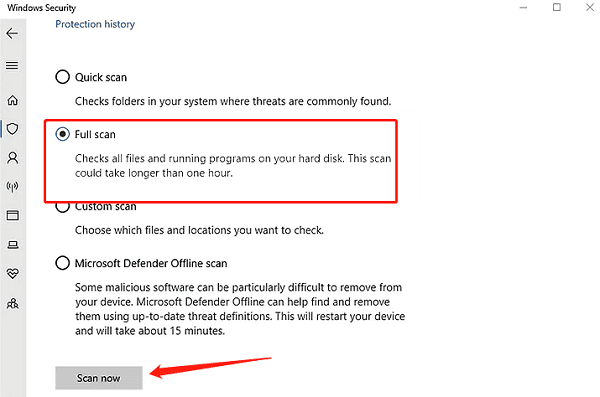
Click on "Virus & threat protection" > then run a "Quick Scan" or "Full Scan".

Follow the instructions to remove any threats. Restart the system if prompted.
6. Check for Windows Updates
Go to "Settings" > "Update & Security" > "Windows Update".
Click "Check for updates" to let Windows search for available updates.
Install all critical and optional updates.
After the updates are installed, restart your computer and check if the issue is resolved.
Although mouse lag is a common issue, it can usually be resolved quickly with targeted troubleshooting. If you've tried all of the above solutions and the problem persists, consider reaching out to your device manufacturer's support or a professional technician for further assistance.
See also:
Solutions for Steam Missing File Privileges
How to Fix Monster Hunter Wilds Crashing on Windows 10