




If your HP webcam is not working, missing from Windows, or failing to open in apps such as Zoom or Skype, the problem may be caused by loose connections, outdated drivers, disabled camera permissions, application conflicts, Device Manager settings, or Windows compatibility issues. This guide explains several practical ways to fix HP webcam problems.
1. Check Hardware Connections
Ensure the webcam's USB connection is secure to avoid recognition issues.
Try different USB ports to rule out port damage.
If using a USB hub, connect the webcam directly to the computer.
2. Check Webcam Permissions
Click the Start Menu, go to Settings, and select "Privacy".
In the left menu, find the Camera option, and make sure the "Allow apps to access your camera" switch is turned on.
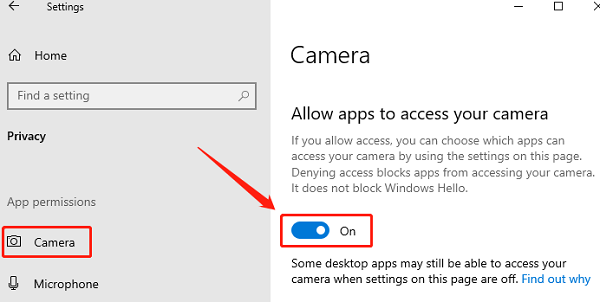
Scroll down and ensure that the apps you want to use the webcam with have been granted access.
If the switch for any critical app is turned off, enable it.
3. Check for Application Conflicts
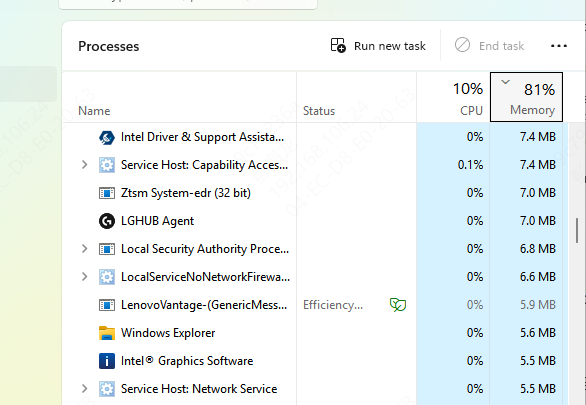
Press Ctrl + Shift + Esc to open the Task Manager.
In Task Manager, find applications that may be using the webcam (e.g., Skype, Zoom), right-click, and select "End Task".
Ensure that only one application uses the webcam at a time. For example, if you are using Zoom, close other applications that may be accessing the webcam.
After closing all potential webcam-using programs, restart the desired app and check if the webcam works properly.
4. Update Webcam Drivers
Outdated or corrupted drivers are often the main reason behind webcam malfunctions. It is recommended to use Driver Sentry for automatic driver updates, saving time and reducing the risk of downloading or installing incorrect drivers.
Download the latest version of Driver Sentry, install and open the software, then click "Scan".
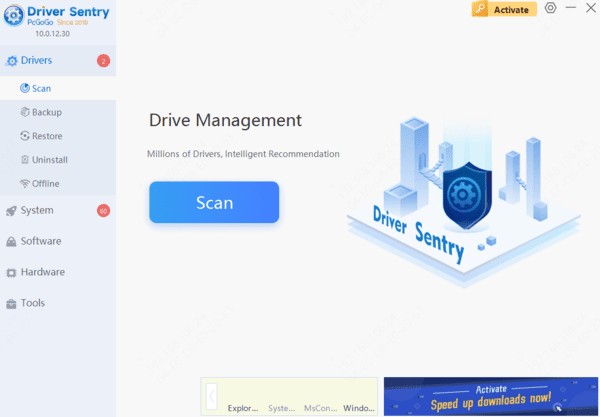
After scanning, the program will show which drivers are missing or need updates. Find the webcam driver in the results and click "Update".
Once the update is complete, restart your computer to ensure the updated drivers take effect.
5. Check Device Manager
Press Win + X and select Device Manager.
In Device Manager, locate "Imaging devices" or "Cameras", and check if the webcam appears normally.
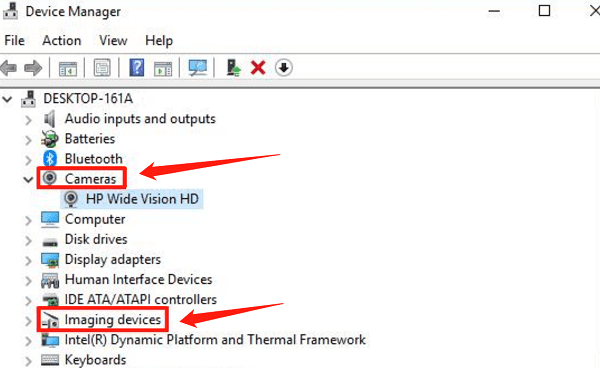
If you see a yellow exclamation mark next to the device, there may be an issue with the driver.
Right-click on the webcam device, and if it's disabled, select "Enable Device".
6. Use Windows Troubleshooter
Press Win + I to open Settings, then go to "Update & Security".
In the left menu, choose "Troubleshoot", then click on "Additional troubleshooters".
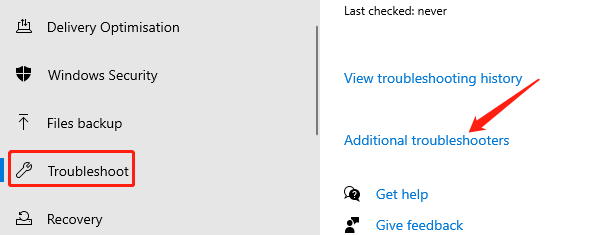
Find Camera or Hardware and Devices and click "Run the troubleshooter".
Windows will automatically detect any webcam issues and offer suggestions for fixing them.
Follow the instructions and restart your computer after completing the troubleshooting process to see if the webcam works.
7. Check for System Updates
Go to Settings and select "Update & Security".
Click "Check for updates", and Windows will search for available updates.
If updates are found, click "Download and install".
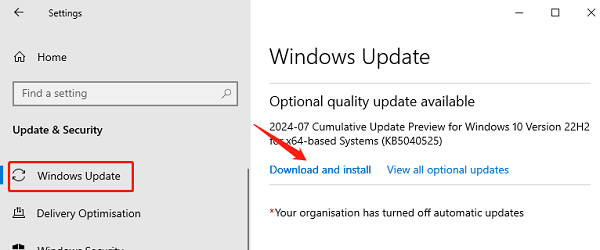
After installing updates, restart your computer.
Once the system has restarted, try opening your webcam application to check if the issue is resolved.
If the update fixed any driver or compatibility issues, the webcam should work properly.
By following these steps, most HP webcam issues can be resolved. If the problem continues, contact HP support for help. Regularly updating your system and drivers, as well as checking hardware connections, can prevent webcam problems and ensure smooth operation.