

The Lenovo Yoga C930 is a thin 2-in-1 laptop, but its battery will naturally degrade over time. Signs like fast drain, unexpected shutdowns, inconsistent charging, or service warnings often indicate that a replacement is needed. Replacing the battery involves more than just swapping parts—you need to power down safely, disconnect internal power, install the new battery correctly, and ensure Windows detects it properly. Skipping steps can lead to charging issues or battery recognition problems.
Prepare Before You Start
Before replacing the battery, shut down the laptop fully and unplug the charger. You should also work on a clean, flat surface with good lighting. A small Phillips screwdriver and a plastic pry tool are usually enough for this job. If adhesive is holding the battery in place, a thin plastic card can help lift it more safely
It is also a good idea to back up important files frst. Battery replacement is normally straightforward, but any time you open a laptop, it is safer to protect your data in advance
Disable the Built-In Battery First
To do that, first turn off Fast Startup in Windows so the laptop performs a full shutdown. Then shut the system down completely. Power it back on and press F1 repeatedly to enter BIOS Setup. In BIOS, go to the Config section, then open the Power submenu and choose Disable Built-in Battery
After you confirm the action, the laptop should power off automatically. At that point, the system is ready for hardware work and is much safer to open

Open the Bottom Cover Carefully
Once the built-in battery has been disabled, remove the screws from the bottom cover. Keep the screws organized, since different screws may have slightly different lengths. Use a plastic pry tool to gently separate the bottom cover from the chassis. Avoid using metal tools if possible, since they can scratch the case or damage internal parts
Lift the cover slowly and set it aside. Once the inside is visible, locate the internal battery pack and the battery cable connected to the motherboard

Disconnect the Old Battery
Use a plastic tool or your fingernail to raise the latch carefully. Do not force it. Once the latch is open, slide the battery cable out in a straight line. This fully disconnects internal battery power from the motherboard
This step matters because removing the battery pack while it is still electrically connected increases the risk of damaging the board or other components

Remove the Old Battery
Lift the battery slowly from one corner. If it does not move easily, do not bend it or pry aggressively. Instead, use a thin plastic card to work underneath the battery and loosen the adhesive gradually. A gentle, even lifting motion is safer than pulling sharply from one side.
Install the New Battery Correctly
Position the replacement battery so it sits flat and lines up with the screw holes exactly. Then reinstall the screws evenly. Tighten them just enough to hold the battery securely in place. Overtightening can damage the battery frame or the chassis.
Reassemble the Laptop and Power It On
Reattach the bottom cover carefully and reinstall all screws. Then connect the charger and power the laptop on. The system should boot normally. If it does not power on, or if it does not show charging activity, the first thing to check is the battery connection inside the laptop. A cable that is only partially inserted can prevent the new battery from being detected correctly
Once Windows loads, confirm that the battery icon appears normally and that charging status updates when the power adapter is connected

Update Battery and Power Management Drivers
After a Lenovo Yoga C930 battery replacement, software still matters. In some cases, Windows may not properly recognize the new battery right away if the battery driver, chipset driver, or power management driver is outdated or damaged.
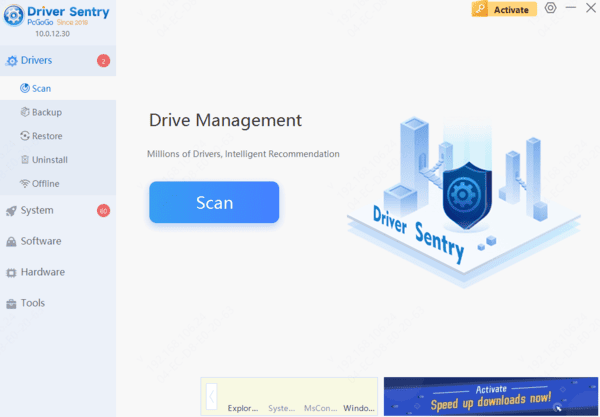
This is why a driver check is a useful final step. You can update drivers manually, but if you want a faster option, Driver Sentry can scan the system and check for battery, chipset, USB, and power-related driver issues. That is especially helpful if the new battery is installed correctly but the laptop still shows charging problems, battery warnings, or incorrect battery percentages.
Final Thoughts
A Lenovo Yoga C930 battery replacement is one of the most effective ways to restore battery life, improve portability, and keep the laptop usable for longer. The key is to approach the process in the right order: fully shut the system down, disable the built-in battery in BIOS, disconnect the old battery safely, install the new one carefully, and then make sure Windows is ready to support the replacement through proper driver updates.
If the new battery is installed correctly and the power-related drivers are up to date, the Yoga C930 should return to more stable charging, better battery life, and smoother day-to-day performance. For many users, that makes battery replacement one of the most worthwhile upgrades for this model.
