




Realtek sound driver problems can cause missing audio, a red X on the speaker icon, distorted sound, or the Realtek audio device disappearing after a Windows update. These issues are often related to outdated or incompatible drivers, disabled devices, conflicting audio software, or stopped Windows audio services. This guide explains several practical ways to fix Realtek audio problems, including running the Windows troubleshooter, enabling the device, updating or reinstalling the driver, using Driver Sentry for automatic driver matching, removing conflicting software, and restarting essential audio services.
Quick Diagnosis Before You Start
Right-click the speaker icon in the taskbar. If it shows a red X with the message no audio output device is installed, the driver is missing or the device is disabled
If the Realtek entry is present with no error icon, the driver is installed but something else — a service, a setting, or a conflict — is preventing audio output. If a yellow exclamation mark appears on the Realtek entry, the driver is corrupted or incompatible
If no Realtek entry appears at all, the driver is completely missing. Each of these states has a different fix path
Fix 1: Run the Windows Audio Troubleshooter
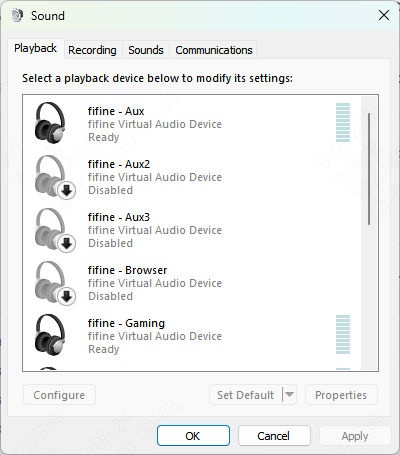
On Windows 10, go to Settings, then Update and Security, then Troubleshoot, then Additional troubleshooters. Select Playing Audio and click Run the troubleshooter
On Windows 11, go to Settings, then System, then Troubleshoot, then Other troubleshooters. Click Run next to Playing Audio
Fix 2: Re-enable the Realtek Device in Device Manager
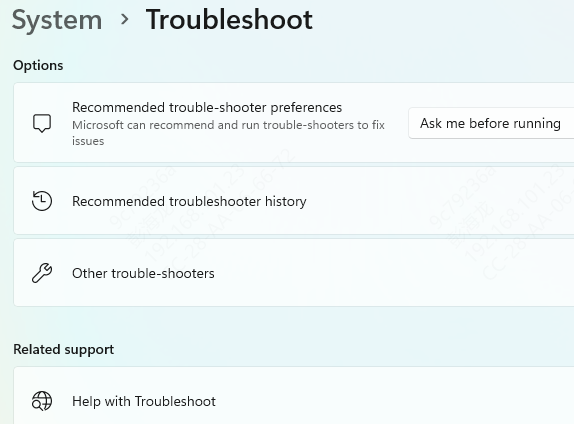
If no Realtek entry appears in Sound, video and game controllers, click View in the Device Manager menu and select Show hidden devices. Greyed-out entries for previously installed hardware will now appear
If a Realtek entry shows up there, right-click it and select Enable device. Restart and test audio
Fix 3: Update Audio Driver
Device Manager
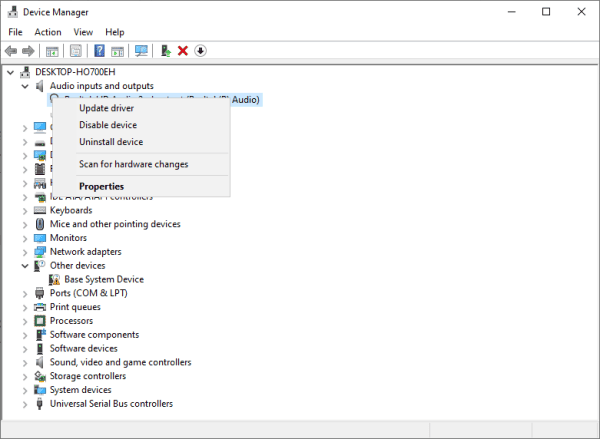
Right-click the Realtek audio entry in Device Manager and select Update driver
Choose Search automatically for drivers
If Windows finds and installs a driver, restart and test
Using Driver Sentry
Driver Sentry identifies the exact Realtek chip model in your system by reading the hardware ID and matches it to the correct driver version automatically. This eliminates the guesswork that leads to installing an incompatible version.
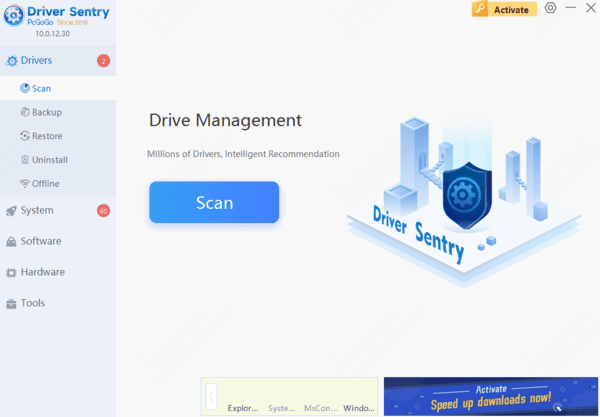
This method is effective in all three diagnosis states: when Device Manager shows an error on the Realtek device, when Windows installed a generic driver in place of Realtek, and when no Realtek entry appears in Device Manager at all.
Download Realtek Driver from Manufacturer
Go directly to the manufacturer's support page. Search for your exact laptop or motherboard model and download the audio driver listed there
If you're unsure which version to download, Driver Sentry identifies the correct OEM-matched driver for your hardware and installs it automatically, which is faster than navigating manufacturer support pages

Fix 4: Remove Conflicting Audio Software
Dolby Atmos, Nahimic, DTS Sound Unbound, and similar audio enhancement applications install alongside the audio driver and modify how Windows handles audio output
Go to Settings, then Apps. Search for Dolby, Nahimic, DTS, or any audio enhancement software that was installed with your laptop. Uninstall each one
Restart the PC and test audio with Realtek running on its own. If audio returns, reinstall the enhancement software only after confirming Realtek is stable
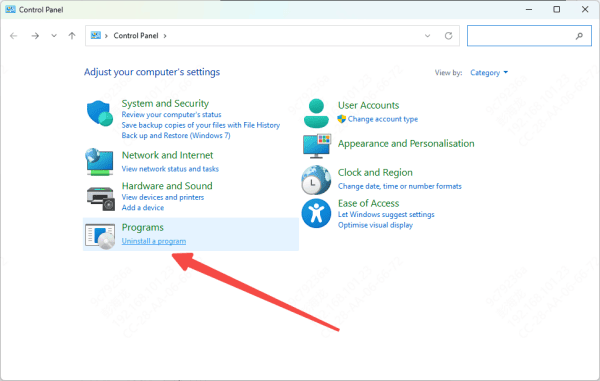
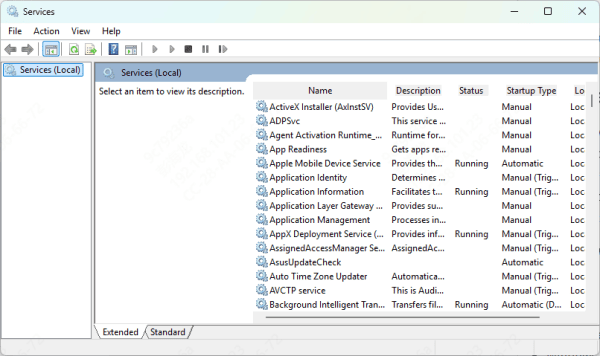
Fix 5: Restart Windows Audio Services
Press Win + R, type services.msc, and press Enter. Scroll to Windows Audio. Right-click it, select Properties, set the Startup type to Automatic, and click Start if it's currently stopped
Apply and close. Repeat the same steps for Windows Audio Endpoint Builder. Restart the PC and test audio
Conclusion
Windows Update replacing the Realtek driver with an incompatible generic version is responsible for the majority of Realtek sound driver failures. Fix 4 using Driver Sentry resolves this directly by identifying the exact Realtek chip variant and installing the correct matched driver, including the HD Audio Manager that the generic Microsoft driver doesn't provide.