

Setting up a dual monitor setup can dramatically improve productivity, whether for gaming, multitasking, or professional work. Acer monitors are widely used for their reliability and quality, but connecting two displays properly requires a few careful steps. This guide walks you through a complete, step-by-step process for setting up dual Acer monitors on your Windows PC, ensuring smooth functionality and optimal performance.
Step 1: Check Hardware and Connections
Before connecting two monitors, verify that all hardware is ready:
Video Ports: Ensure your PC has two compatible ports (HDMI, DisplayPort, DVI, or VGA) to connect both monitors
Cables: Use high-quality cables for both monitors. HDMI or DisplayPort is recommended for better resolution and refresh rates
Monitor Power: Confirm that both monitors are plugged in and powered on
Check Your GPU: If using a discrete graphics card, make sure it supports dual displays
These steps help avoid hardware compatibility issues before diving into software configurations.
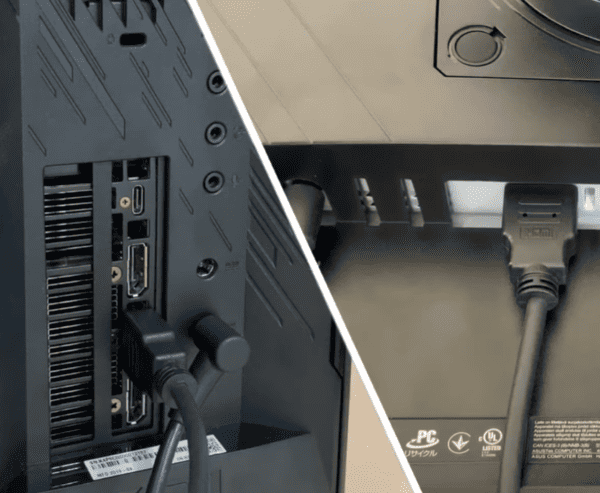
Step 2: Connect the Monitors
Connect the first Acer monitor to your PC via your preferred port
Connect the second Acer monitor to another available port on your PC
Turn on both monitors and your PC
Check if Windows detects both screens
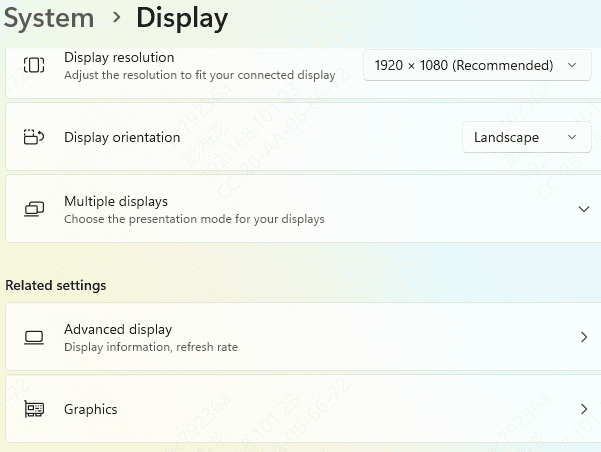
Step 3: Configure Windows Display Settings
Windows provides a straightforward way to manage multiple monitors:
Right-click on the desktop → Display settings
Scroll to Multiple displays
Click Detect if one monitor isn't showing up
Select Extend these displays to use both monitors as an extended deskto
Adjust the display order by dragging the monitor icons to match your physical setup
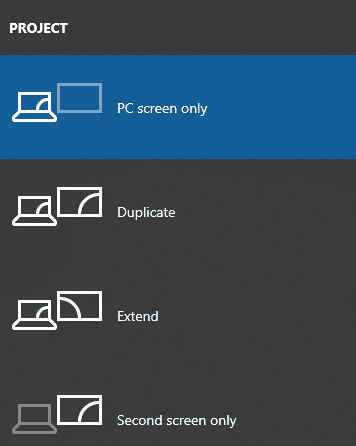
This ensures that your dual monitors work as a cohesive setup rather than mirroring each other unnecessarily.
Step 4: Update Drivers
Outdated graphics drivers can prevent dual monitors from working properly. Here are several ways to update them:
Method 1: Device Manager Update
Press Win + X → Device Manager
Expand Display adapters → Right-click your graphics card → Update driver → Search automatically

Method 2: Driver Sentry Automatic Update
Download and install Driver Sentry
Launch the program → Click Diagnose
Scan for outdated or missing drivers, focusing on GPU, USB, and chipset drivers
Click Repair or Update All to install the latest drivers automatically
Restart your PC
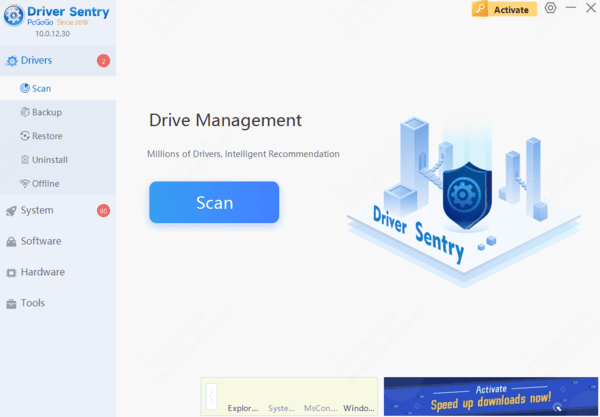
Driver Sentry ensures your system drivers are fully compatible with your dual Acer monitors, eliminating issues like "monitor not detected," resolution errors, or display lag.
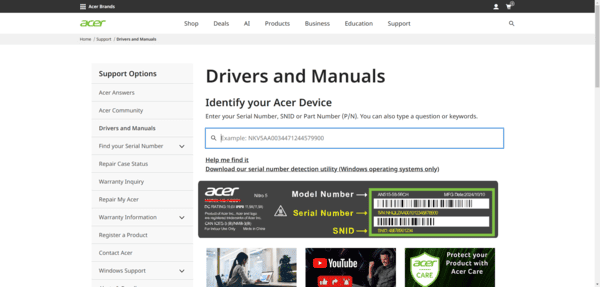
Method 3: Manufacturer's Website
Visit Acer support website
Download and install the latest drivers directly from their official site
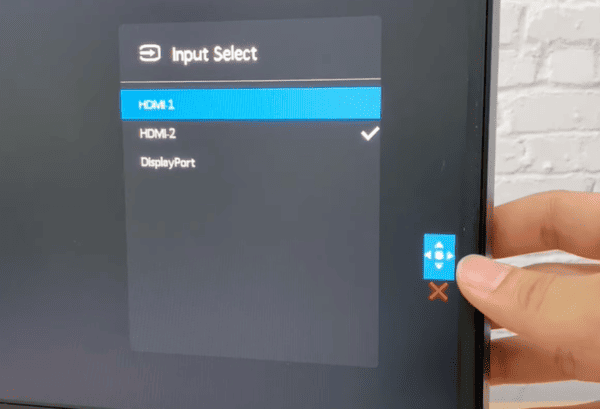
Step 5: Adjust Monitor Settings
Open each Acer monitor's OSD menu (On-Screen Display)
Ensure input source matches the port used (HDMI, DP, etc.)
Adjust brightness, contrast, and color settings to match both displays
Enable any features like Game Mode, Low Blue Light, or Refresh Rate adjustments if applicable
Proper configuration ensures your dual monitors not only work but also look consistent
Step 6: Troubleshoot Common Issues
Issue 1: Second Monitor Not Detected
Check cable connections
Use Display settings → Detect
Issue 2: Resolution Mismatch
Ensure both monitors are set to their native resolutions in Display settings
Issue 3: Flickering or Lag
Check refresh rates for both monitors
Use quality cables and ports (DisplayPort preferred)
Conclusion
Setting up dual Acer monitors is straightforward when hardware, cables, and software are properly managed. By following these steps—checking hardware, connecting monitors, configuring Windows settings, updating graphics drivers (especially with Driver Sentry), adjusting monitor settings, and troubleshooting common issues—you can enjoy a seamless dual display experience.
