Diving into OpenClaw has never been simpler. No advanced technical background is required — just follow this clear, beginner-friendly walkthrough and you'll have everything up and running confidently.
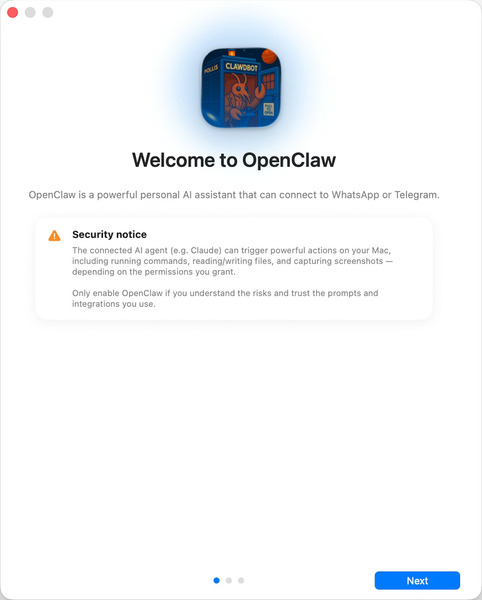
Launching OpenClaw for the first time
Verify that your system meets the basic requirements
Execute the straightforward installation command in your terminal
Go through the guided onboarding wizard
Perform a quick health check to confirm everything is working
Open the web dashboard and begin exploring its features

Preparing Your System for OpenClaw
Before beginning the installation, take a moment to ensure your computer is properly prepared. This section covers the essential prerequisites in simple terms, so you can move forward without any complications.
For the best experience with OpenClaw, your setup should include:
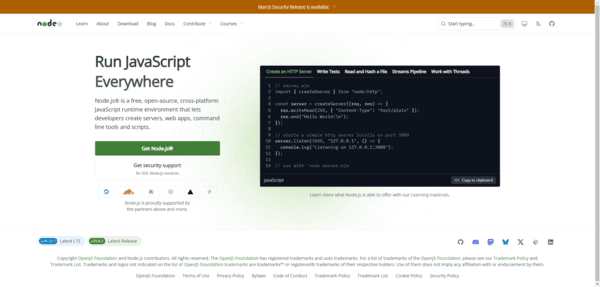
Node.js version 22 or higher
At least 2 GB of RAM (4 GB recommended for VPS users, and 8 GB for optimal performance)
Approximately 20 GB of free disk space. The core installation uses only about 500 MB, but extra space is helpful if you plan to use local embedding models or store logs
If your system has less than 2 GB of RAM, consider creating a 4 GB swap file to improve stability
Helpful Tip
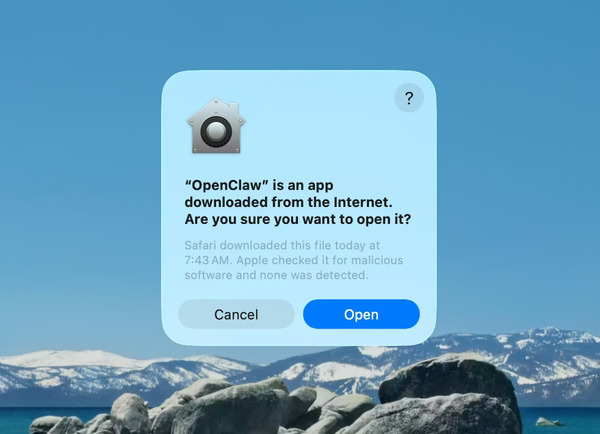
macOS users can install OpenClaw natively
Windows users will get the best results by running it through WSL2
Installing OpenClaw
You're now just minutes away from experiencing what OpenClaw can do. This section provides a simple guide to the installation process for both macOS and Windows users. Follow along, and you'll have it running quickly.
Opening Your Terminal
Start by opening the terminal on your computer. On macOS, locate the Terminal app in Applications > Utilities
Windows users should open the WSL2 terminal from the Start menu for optimal compatibility
Bashnode --version
You need version 22 or higher. If you see an older version or an error, the installer can handle setting up Node.js automatically
Alternatively, you can manage versions yourself using a tool like nvm
Tip
If you want a easy way to install OpenClaw
OpenClawTool can finish the installation with one click
Starting the Onboarding Wizard
To begin the installation, run this command in your terminal:
Bashcurl -fsSL https://openclaw.ai/install.sh | bash
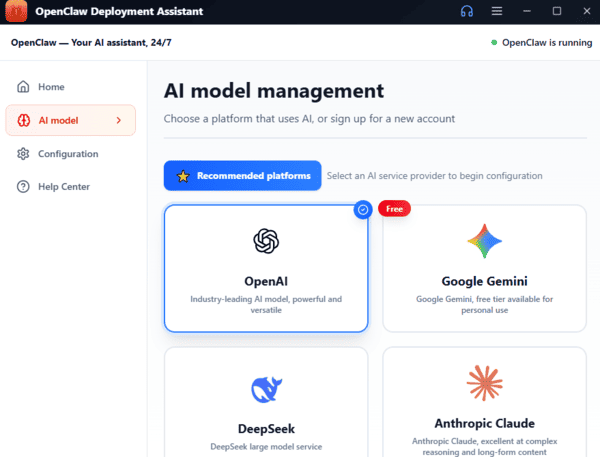
The wizard will guide you step by step, asking for your preferred LLM provider, API key, and any messaging platforms you want to connect
There's no need to manually edit configuration files — the wizard automatically sets up the required environment variables. Most users complete this part in about five minutes
Checking the Gateway Status
To verify the gateway is active, use:
Bashopenclaw gateway status
You should see a confirmation that the gateway is running
When everything is working, the gateway will show as active. For deeper troubleshooting, you can generate a thread dump with:
Bashkill -SIGUSR1 $(pgrep -f "openclaw gateway")

Adjusting Your Preferences
The dashboard makes it easy to customize your initial settings. You can manage skills, add communication channels, and monitor how your AI assistant is performing. Skills expand your AI's capabilities, while plugins allow connections to more platforms.
For the first setup, consider these recommended options:
Set the server host to 0.0.0.0
Use port 8080
Select an AI model such as llama2-7b
Set the maximum tokens to 2048
Adjust the AI temperature to 0.7
Enable Telegram and input your bot token
Keep Discord disabled for now