





Windows 10 system crashes can interrupt your work, cause unexpected restarts, and affect overall computer stability. These crashes may be caused by outdated drivers, corrupted system files, hardware conflicts, or software issues. In this guide, we'll provide effective solutions to troubleshoot and fix Windows 10 crashes, helping you restore normal system performance and keep your PC running reliably.
1. Restart the Computer
Press and hold the power button for 10 seconds or more until the computer shuts down completely.
Wait a few minutes, then press the power button again to restart the computer.
This method helps clear any temporary system glitches.
2. Update Drivers
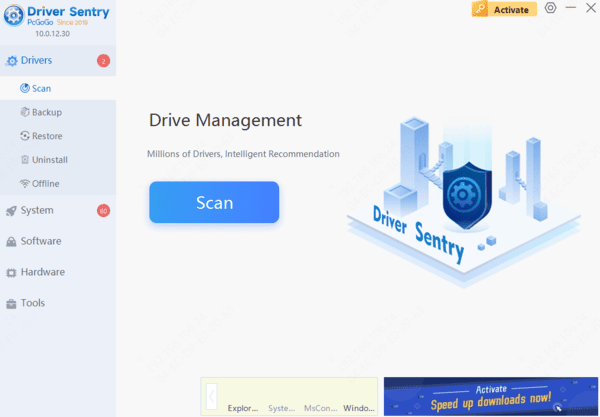
Outdated or incompatible hardware drivers are common causes of Windows 10 system crashes. Updating drivers can improve compatibility between hardware and the operating system, preventing crashes caused by driver conflicts. Driver Sentry can automatically detect and update drivers, saving time and avoiding the risk of downloading or installing incorrect drivers.
3. Disable Fast Startup
Press Windows + R on the desktop, type "control", and press Enter to open the Control Panel.
Select "Power Options", and then click "Choose what the power buttons do" on the left side.
Click "Change settings that are currently unavailable", then uncheck "Turn on fast start-up".
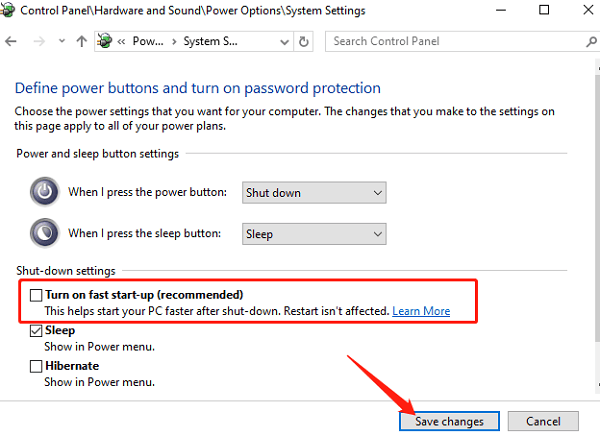
Save the changes and restart your computer.
4. Run System File Checker
Press Windows + X and select "Command Prompt (Admin)" or "Windows PowerShell (Admin)".
In the command prompt window, type "sfc /scannow", and press Enter.
Wait for the scan to complete, and the system will automatically fix any issues found.
After completion, restart the computer.
5. Disable Link State Power Management
In the desktop search box, type and open "Control Panel".
Click "Power Options" (depending on whether you choose small or large icons).
Click "Change plan settings" and select your previous power plan.
Click "Change advanced power settings".
Scroll down to "PCI Express" and double-click to expand the options.
Double-click "Link State Power Management" and set it to "Off".
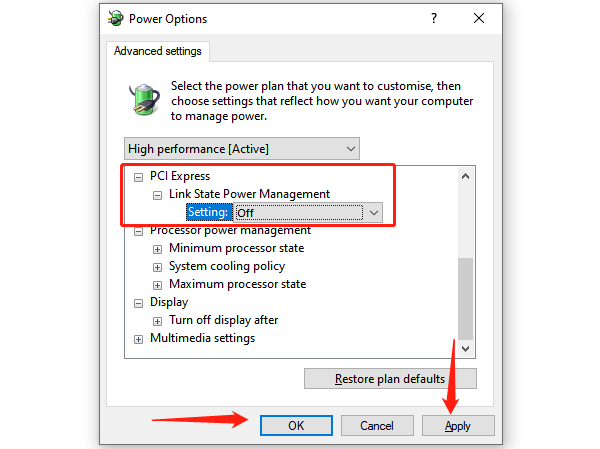
Click "Apply" and "OK" to save the changes.
Restart your computer and check if the issue is resolved.
6. Run Disk Cleanup Tool
Press Windows + S, type "Disk Cleanup", and open the tool.
Select the disk to clean (usually C drive) and click OK.
Wait for the scan to finish, then check the categories of files you want to delete and click OK, confirming the deletion.
After cleaning, restart your computer.
7. Check for System Updates
Press "Windows + I" to open Settings, then select "Update & Security".
Click "Windows Update" and choose "Check for updates".
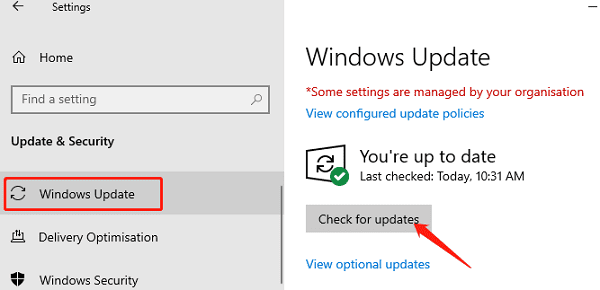
If updates are available, click "Download and install".
Once the installation is complete, restart your computer.
8. Perform a System Restore
Press "Windows + R", type "rstrui", and press Enter to open System Restore.
Select a restore point and follow the on-screen instructions.
Once the system restore is complete, the computer will automatically restart and apply the changes.
By following the steps above, you should be able to effectively fix the Windows 10 boot screen freezing issue and restore normal functionality to your computer. If the problem persists, it is recommended to seek professional technical support.
See also:
How to Fix Black Screen of Death in Windows 10
7 Ways to Fix Helldivers 2 Black Screen on Startup