The "No Audio Device Installed" error appears when Windows cannot detect or communicate with your computer's audio hardware. It is commonly caused by missing or corrupted audio drivers, disabled playback devices, stopped Windows Audio services, incorrect BIOS settings, or damaged system files. This guide explains how to restore sound by checking Device Manager, enabling hidden audio devices, updating drivers with Driver Sentry, restarting essential services, repairing Windows files, and verifying onboard audio settings.
Start With the Basics
Before touching any settings, restart your PC. It sounds obvious, but a simple reboot clears temporary states that can cause Windows to lose track of audio devices. If you use external speakers or headphones, unplug them and plug them back in after the restart. Also confirm you have plugged into the correct port. On desktop PCs, the rear audio jack is usually more reliable than the front panel
Once the PC is back up, right-click the sound icon in the taskbar and open Sound settings. Check whether a real output device is selected. If the dropdown shows "No output devices found," the device is either disabled or the driver is missing entirely. Either way, the next steps address both situations

Check Device Manager for Warnings
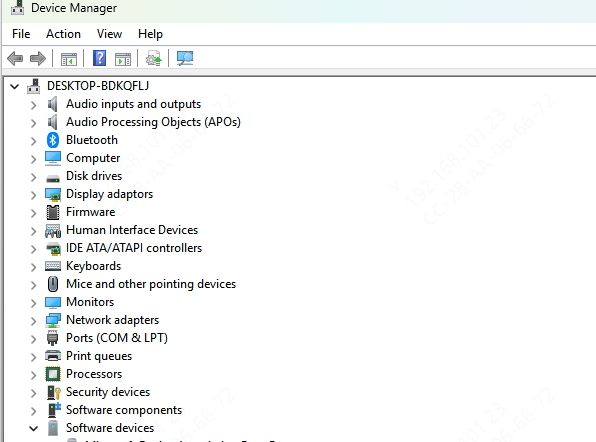
Press Win + X and select Device Manager. Expand the Sound, video, and game controllers section. Your audio device should appear here with no icons next to it. If you see a yellow warning triangle, the driver is corrupted or misconfigured. If the device is missing entirely, Windows is not detecting the hardware at all
A common scenario that most guides skip: the audio device sometimes appears under Other devices instead of Sound, video, and game controllers. It will show as an unknown device. If you see anything labeled unknown, right-click it and check the properties to see if it references an audio component
Re-enable Disabled Devices
Right-click any audio device listed in Device Manager. If the context menu shows Enable device, click it. Windows occasionally disables devices after an update or wake-from-sleep cycle without alerting you. After enabling, restart the PC before testing audio again
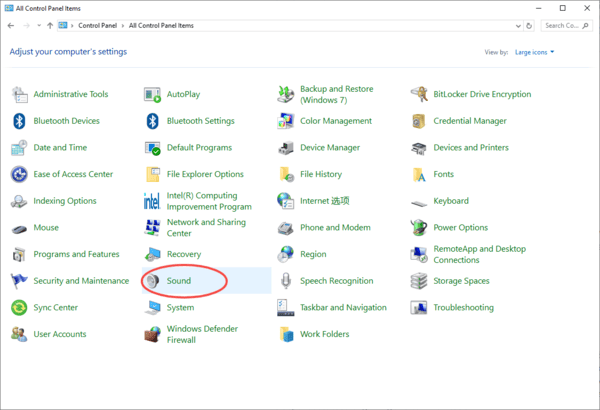
You can also check disabled devices through the Sound control panel. Press Win + R, type mmsys.cpl, and press Enter. Right-click anywhere in the device list and select Show Disabled Devices and Show Disconnected Devices. If your audio device appears grayed out, right-click it and enable it
Update or Reinstall the Audio Driver
A missing or outdated driver is the most common cause of this error. In Device Manager, right-click your audio device and choose Update driver, then Search automatically for drivers
If Windows finds nothing, try the manual route: go to your PC or motherboard manufacturer's website, download the latest audio driver for your exact model, and run the installer

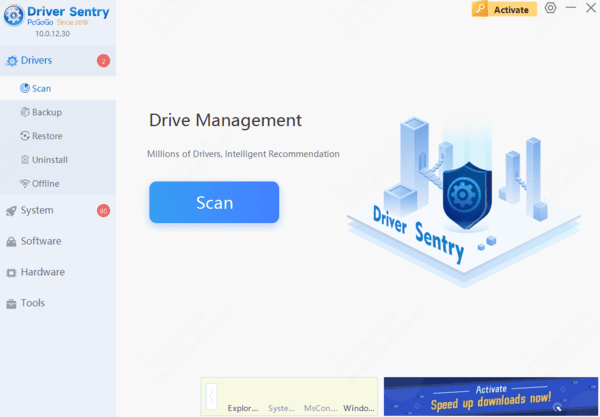
If you are not sure which driver version you need, or if your machine has multiple driver problems at once, Driver Sentry can handle the detection for you. Install it, run a full scan, and it will identify every outdated or missing driver including audio, chipset, and USB controllers
Updating all three matters because audio routing on modern Windows depends on more than just the audio driver itself. Click Repair or Update All, restart, and the sound icon should return to normal
Run the Windows Audio Troubleshooter
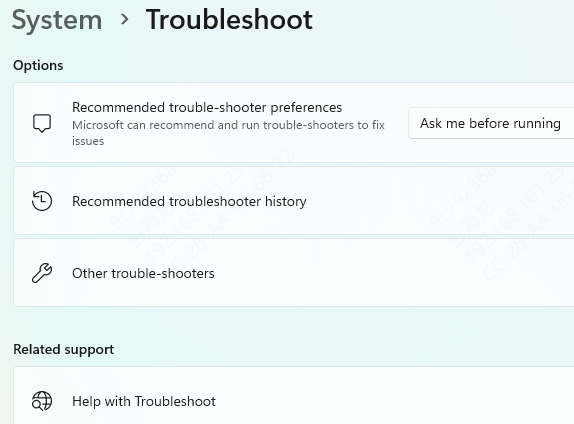
Go to Settings, then System, then Sound. Scroll down and click Troubleshoot next to your output device. The built-in troubleshooter catches service conflicts and common misconfigurations that manual checks miss
It is not a magic fix, but it logs what it finds even when it cannot fix the issue automatically, which tells you where to look next
Restart Windows Audio Services
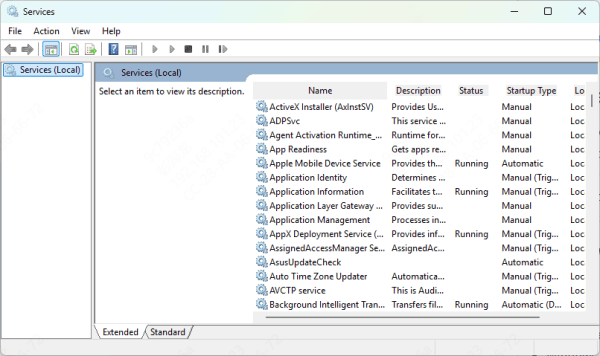
Audio depends on two Windows services running in the background. Press Win + R, type services.msc, and press Enter. Find Windows Audio in the list
Check that its status is Running and its Startup Type is set to Automatic. Do the same for Windows Audio Endpoint Builder. If either service is stopped, right-click it and choose Start. If it is already running but audio is still broken, right-click and choose Restart
Check BIOS Settings for Onboard Audio
If none of the above works, the onboard audio controller may be disabled at the firmware level. Restart your PC and enter BIOS by pressing F2 or Delete during startup (the exact key depends on your motherboard). Navigate to Advanced settings or Onboard Devices Configuration
Look for an option labeled HD Audio Controller or similar and confirm it is set to Enabled. Save and exit. Windows should detect the audio device on next boot
Repair System Files
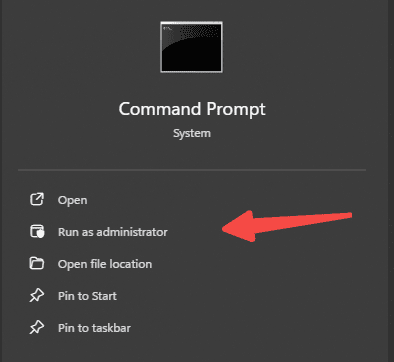
Corrupted Windows system files can prevent audio components from loading correctly. Open Command Prompt as Administrator and run sfc /scannow
This scans protected system files and replaces corrupted ones automatically. When it finishes, run a second command: DISM /Online /Cleanup-Image /RestoreHealth. This repairs the Windows image itself, which SFC relies on. Restart after both commands complete
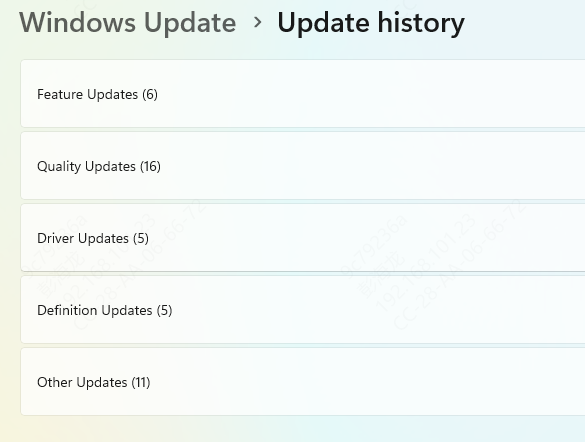
If the audio problem started right after a Windows update, go to Settings, then Update and Security, then Windows Update, and open View update history
Click Uninstall updates and remove the most recent one. This is a last resort but it works when a bad update breaks audio stack compatibility
Keep Audio Working Long-Term
Driver problems are not a one-time event. Drivers fall out of date after every major Windows update, and chipset or USB driver conflicts can silently break audio months after you last touched anything. Running periodic scans with Driver Sentry takes less than two minutes and prevents these issues from compounding into the complete "No Audio Device Installed" state. Avoid force shutdowns and keep Windows updates current so your audio stack stays compatible with the drivers installed on your system.