

NVIDIA drivers are essential for optimal gaming, creative work, and overall system stability on Windows 10. Outdated or corrupted drivers can lead to crashes, screen flickering, low FPS, or incompatibility with new Windows updates. The good news is that updating NVIDIA drivers is easier than many users think, and there are multiple ways to do it depending on your situation. This guide covers different scenarios and methods for updating NVIDIA drivers safely, from quick fixes to advanced tools, ensuring your GPU always performs at its best.
Why NVIDIA Drivers Fail or Lag Behind
Windows Update skips GPU updates: Sometimes automatic updates miss the latest NVIDIA drivers
Driver conflicts: Other hardware drivers, especially motherboard or chipset drivers, may interfere with NVIDIA installations
Corrupted files: Failed or incomplete driver installations can leave your system unstable
Beta drivers: Testing versions can sometimes cause unexpected crashes or performance issues
Scenario 1 – Quick Update for Busy Users
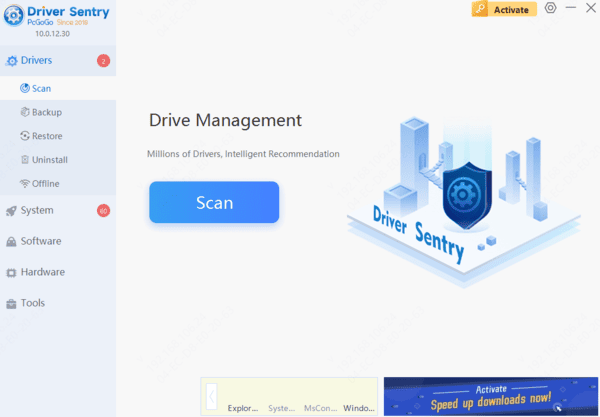
Solution: Use Driver Sentry
Automatically detects outdated, missing, or corrupted NVIDIA driver
One-click update or repair for all system drivers
Backs up drivers before updates and allows restoration if anything goes wrong
Steps: Install → Scan → Repair/Update → Restart
Benefits: Fast, safe, beginner-friendly, and reduces the risk of installation errors. Ideal for users who want full automation.
Scenario 2 – Device Manager Fix for Windows-Only Users
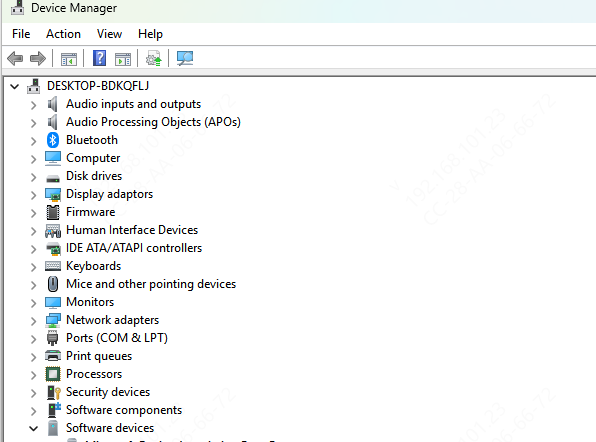
Solution: Update via Device Manager:
Press Windows + X → Device Manager
Expand Display adapters → NVIDIA GPU
Right-click your GPU → Update driver
Select Search automatically for drivers
Follow prompts and restart your system
Advantages: Safe, uses only Windows features, requires no extra downloads.
Limitations: Windows may not always detect the latest NVIDIA driver.
Scenario 3 – Manual Update for Control and Precision
Solution: Update manually from NVIDIA's official website
Visit the NVIDIA driver download page
Enter your GPU model and Windows 10 version
Download the latest driver
Run the installer and choose Custom → Clean Install
Restart your system
Benefits: Full control over driver version, ensures a clean installation without leftover files.

Scenario 4 – Official Tool for Full System Maintenance
Solution: Use GeForce Experience, NVIDIA's official utility
Open GeForce Experience
Navigate to Drivers → Check for Updates
Click Download if a new driver is available
Choose Express Install for the quickest update or Custom Install for a clean installation
Restart your PC after installation

Scenario 5 – Reverting a Bad Driver
Roll Back via Device Manager
Open Device Manager → Display adapters → NVIDIA GPU → Properties → Driver tab → Roll Back Driver

System Restore
Press Windows + S → Search "System Restore" → Open
Choose a restore point created before the driver update
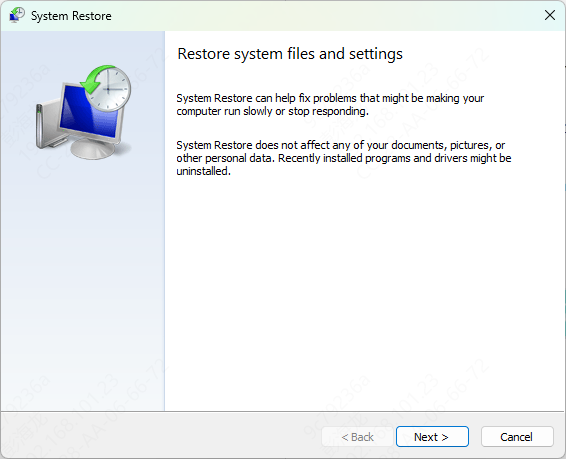
Benefits: Restores previous stable driver versions, preventing prolonged instability.
Tips for Preventing Driver Issues in the Future
Schedule regular driver checks with GeForce Experience or Driver Sentry
Keep System Restore Points updated before major updates
Avoid beta or unofficial drivers unless necessary
Test your GPU after updates with games, benchmarks, or creative applications
Keep BIOS and firmware current to maintain hardware compatibility
Conclusion
Updating NVIDIA drivers on Windows 10 doesn't have to be complicated. By understanding your scenario—whether you need a quick update, a manual clean install, or a full automated tool like Driver Sentry—you can maintain GPU stability and maximize performance.
Routine maintenance, driver backups, and proper installation methods will keep your NVIDIA GPU running smoothly, prevent crashes, and ensure compatibility with Windows 10 updates. Whether you're a casual user or a gamer, following these strategies will save time, reduce frustration, and protect your system from driver-related problems.
