

Getting started with OpenClaw on OpenClawTool can feel overwhelming at first, but this step-by-step guide makes the entire process straightforward. Whether you are completely new to the platform or looking for a clear walkthrough, you'll find everything you need here to install, configure, and securely run OpenClaw.
Fast-Track Setup for New Users
If you want to get OpenClaw running quickly, follow these essential steps:
Confirm your computer or VPS meets the system requirements
Connect to your server via SSH
Run the OpenClaw installation command
Complete the onboarding wizard
Verify your gateway status
Access the dashboard to finalize your configuration

System Requirements and Preparation
Before installing OpenClaw, ensure your environment is ready for a smooth experience:
Recommended operating systems include macOS (officially supported) and Windows via WSL2 (strongly recommended). For the best performance on Windows, always run OpenClaw inside WSL2
You will also need Node.js version 22 or higher, Git, and at least 8GB of RAM
If you run into Node.js-related errors, verify your version or use nvm to manage it. After installation, if you see a "command not found" message, add npm's global bin directory to your PATH
Running the Onboarding Wizard
Once prerequisites are ready, launch the guided setup:
Install all required tools and ensure sufficient RAM
Install OpenClaw globally via npm
Start the wizard with the command:
Bashopenclaw onboard --install-daemon
This command installs OpenClaw as a background daemon, keeping your gateway available at all times
The wizard will walk you through configuring the gateway, workspace, channels, and skills. Read each prompt carefully to avoid misconfigurations. If issues arise, inspect or reset the openclaw.json configuration file

Verifying Gateway Status
After completing the wizard, check that everything is working correctly:
Bashopenclaw gateway status
You should see that the gateway is active. On macOS, confirm the port binding with:
Bashlsof -i :18789
Look for a connection on 127.0.0.1:18789
For security, always use a Gateway Token when connecting clients or nodes in remote mode. Enable TLS encryption, especially when using a reverse proxy such as Nginx or Caddy
Gateway Token is required for all remote client and node connections. TLS is essential when using reverse proxies

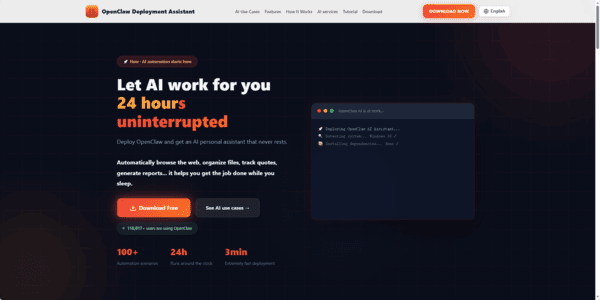
Quick Installation wtith OpenClawTool
Download
Download OpenClawTool for
Windows
macOS Apple Silicon
macOS Intel
Install
Windows: Run the .exe and follow prompts
macOS: Drag .dmg to Applications. If blocked, go to System Settings → Privacy & Security → Still Open
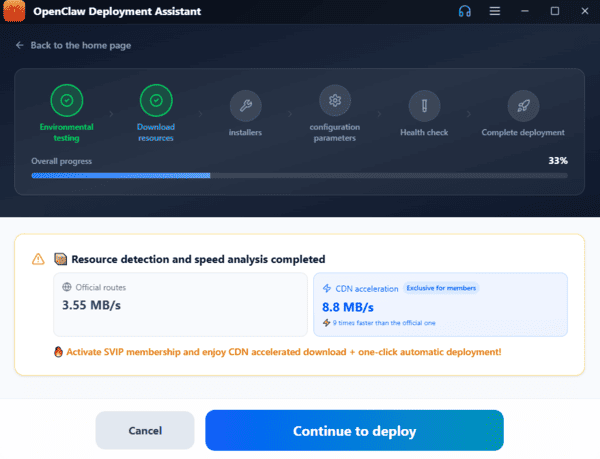
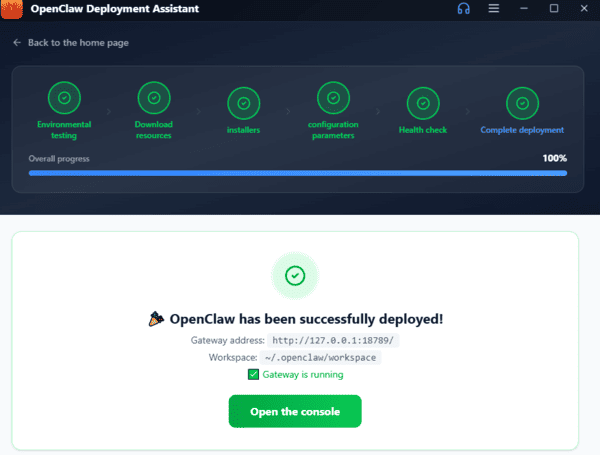
Launch & Deploy
Open the app; Deployment Assistant handles system detection, dependency installation, downloading OpenClaw, and configuration automatically in ~3 minutes
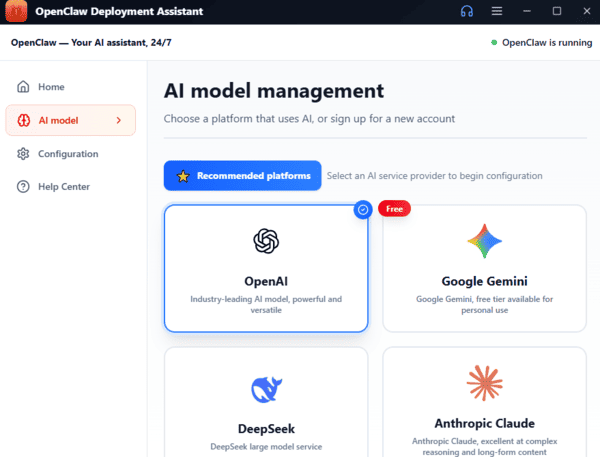
Set Up AI Model
Enter your API key (Zhipu GLM, Tongyi Qianwen, DeepSeek, Doubao, OpenAI-compatible, etc.); keys are encrypted locally
Common Troubleshooting Tips
Restart the service if OpenClaw becomes unresponsive
Check available RAM and CPU resources
If installation fails, try an alternative command or rerun in QuickStart mode
For dashboard connection problems, verify your SSH tunnel and ensure the gateway is running
Review logs and configuration files when the service fails to start
