

Lenovo laptop keyboard locked or unresponsive? This guide walks you through 7 fixes — including disabling Sticky Keys, toggling the Fn lock, updating keyboard drivers with Driver Sentry, turning off Gaming Mode, running the Windows keyboard troubleshooter, and performing a System Restore — to unlock your Lenovo keyboard fast.
Test if On-Screen Keyboard is Workable
Before diving into complex troubleshooting, it's worth checking whether the On-Screen Keyboard is functional. This can help you determine if the problem is hardware-related or a system setting issue
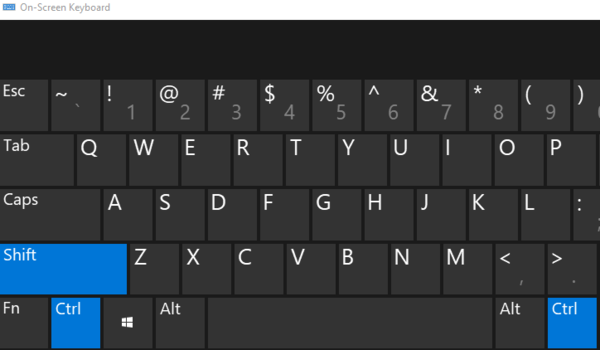
Press Windows + R to open the Run dialog
Type osk and press Enter. The On-Screen Keyboard will appear
Try typing using the On-Screen Keyboard. If it works, the issue is likely with your laptop's physical keyboard
If the On-Screen Keyboard doesn't work either, it could be a more systemic problem, such as a driver or software issue
Disable All Keyboard Shortcuts and Enhancements
Sometimes, keyboard shortcuts or enhancements can interfere with normal keyboard functionality. Disable them to see if that resolves the issue.
Disable Sticky Keys
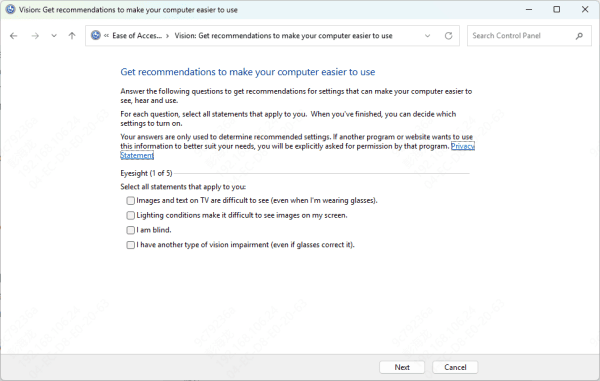
Open Settings by pressing Windows + I
Go to Ease of Access > Keyboard
Make sure Sticky Keys and Filter Keys are both turned off
Disable Function Key Shortcuts:
Many Lenovo laptops have function keys (like Fn + F6 or Fn + F8) that lock the keyboard. Try pressing Fn + F6 to see if it unlocks the keyboard
Check Drivers
Outdated or corrupted keyboard drivers can cause your Lenovo laptop keyboard to stop working. Checking and updating the drivers can often resolve these issues.
Check Keyboard Drivers
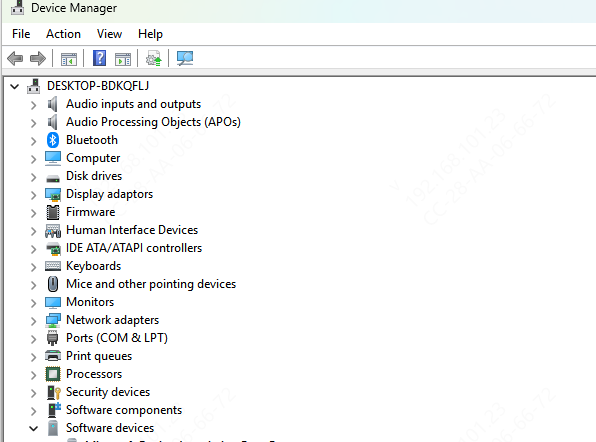
Press Windows + X and select Device Manager
Expand the Keyboards section and right-click on your keyboard device
Select Update Driver and choose Search automatically for updated driver software
If the driver is up to date, you may want to uninstall and reinstall the driver by selecting Uninstall Device. Restart your laptop, and Windows will automatically reinstall the driver
Update Keyboard Drivers with Driver Sentry
Driver Sentry is a powerful tool that automatically scans your system for outdated, missing, or corrupted drivers and updates them with just a few clicks. Whether it's your keyboard drivers or other system drivers, Driver Sentry ensures that your system always runs smoothly with the latest, most compatible drivers.
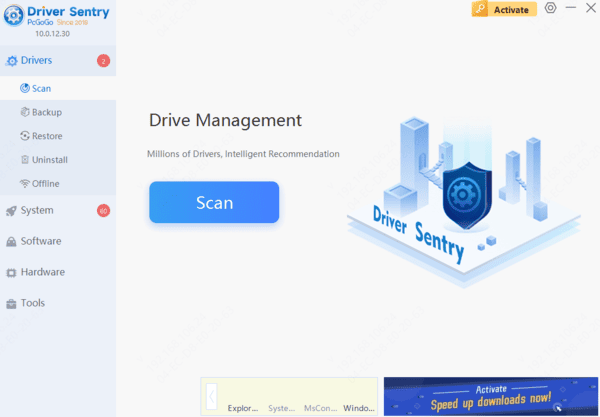
Download and Install Driver Sentry from the official website
Open the software and click on Scan to check your system for outdated drivers
After scanning, locate your keyboard drivers and click Repair Now or Update to download and install the latest drivers automatically
Once the update is complete, restart your laptop and check if the keyboard issue is resolved
Using Driver Sentry is a fast and reliable way to keep your drivers up to date, helping you avoid keyboard malfunctions and ensuring optimal laptop performance
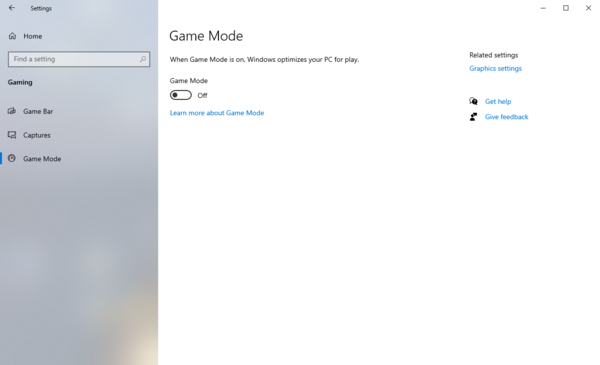
Disable Gaming Mode
Many Lenovo laptops come with a Gaming Mode that disables certain keys to prevent accidental presses during gaming. This could lock or limit keyboard functionality.
Check if your laptop has a dedicated Gaming Mode key, often marked with a joystick or gaming symbol
Press the Gaming Mode key (usually Fn + F7 or Fn + F8) to toggle it off
If your laptop uses Lenovo Vantage, open the app, navigate to the Device Settings, and ensure Gaming Mode is turned off
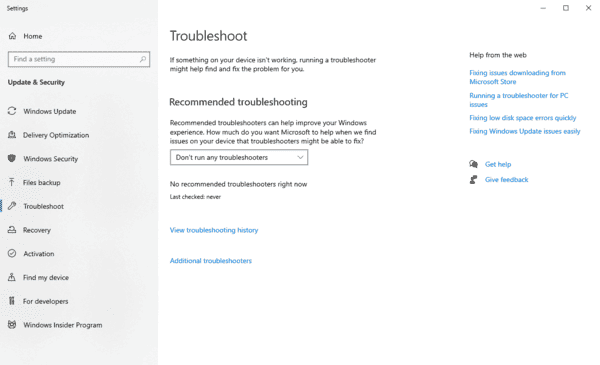
Try Keyboard Troubleshooting
Windows includes a built-in keyboard troubleshooter that can detect and fix common issues with your keyboard.
How to Run Keyboard Troubleshooter:
Open Settings by pressing Windows + I
Go to Update & Security > Troubleshoot > Additional troubleshooters
Select Keyboard and click Run the troubleshooter
Let Windows automatically detect and fix any problems it finds
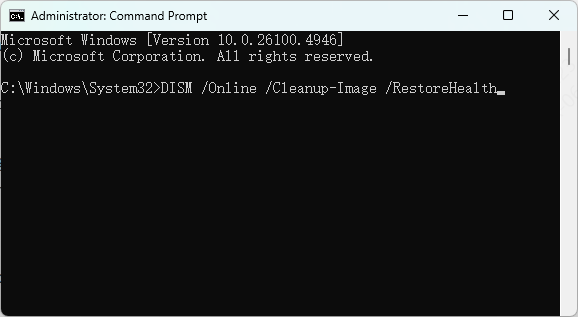
Check if the Key Works under Command Prompt
If certain keys aren't responding, you can check their functionality using Command Prompt to determine if the issue is software-related.
Open Command Prompt by pressing Windows + R, typing cmd, and hitting Enter
In the Command Prompt window, press the unresponsive keys
If the key works in Command Prompt but not in other applications, the issue may lie with the application or software settings
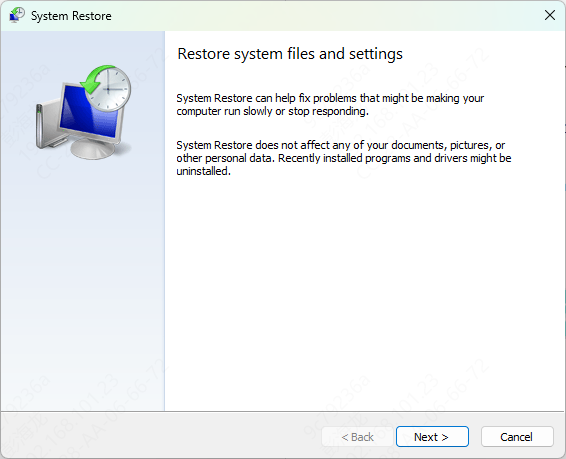
Perform System Restore
If the issue started recently and you suspect a software update or new program is to blame, performing a System Restore may help revert your system back to a time when the keyboard was working correctly.
Type System Restore in the Windows search bar and select Create a restore point
Click on System Restore under the System Properties window
Choose a restore point before the issue started and follow the instructions to restore your system
After the system restore completes, check if the keyboard is working again
Conclusion
A locked keyboard on your Lenovo laptop can be caused by a variety of factors, from simple settings to more complex driver or hardware issues. Start by checking if the On-Screen Keyboard works, testing individual keys, and updating drivers. Then, explore other troubleshooting options such as disabling gaming mode, running the keyboard troubleshooter, and performing a system restore if the issue began recently.
