




Getting "The application was unable to start correctly" error on Windows? This guide covers 8 fixes — updating graphics drivers with Driver Sentry, running as admin, repairing runtime libraries, SFC/DISM, registry edits, and reinstalling the app.
1. Update Graphics Drivers
Graphics driver issues can cause some programs to fail at startup. Updating your drivers in time is an essential step to avoid this error. Using Driver Sentry for automatic detection and updates can save time and prevent the risk of downloading or installing incorrect drivers.
Click the download button to get the latest version. Install and open the software, then click "Scan".
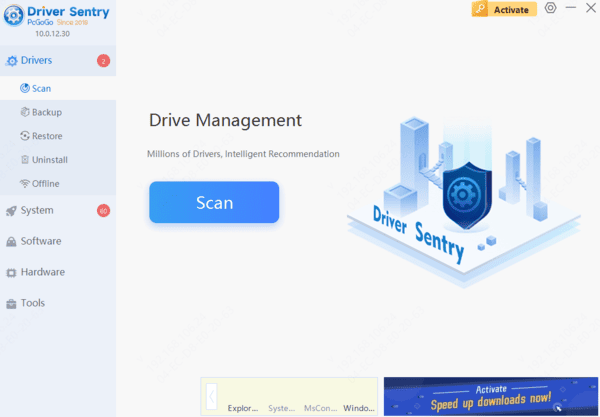
After scanning, check for uninstalled or outdated drivers in the results. Find the graphics driver and click the "Upgrade" button.
After the update, restart your computer to ensure the new drivers take effect.
2. Restart Your Computer
Save your work and close all running applications to avoid data loss.
Click the Start Menu, then "Power > Restart".
Alternatively, press "Ctrl + Alt + Delete" and select the "Power icon > Restart".
After the restart, try launching the problematic application.
3. Run the Application as Administrator
Find the application's shortcut on your desktop or navigate to its installation directory using File Explorer.
Right-click the application icon and select "Run as administrator".
If prompted by User Account Control (UAC), click "Yes".
4. Repair Runtime Libraries
Repairing Microsoft Visual C++:
Press Win + I to open Settings.
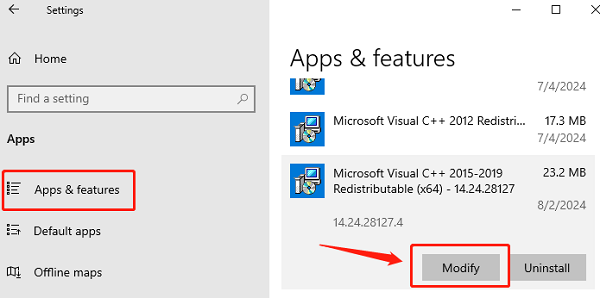
Navigate to "Apps" and locate the Microsoft Visual C++ Redistributable versions.
Select a version (e.g., 2015, 2017, 2019), click "Modify", and then "Repair".
Repairing .NET Framework:
Press Win + R, type "appwiz.cpl", and press Enter.
In the Control Panel, click "Turn Windows features on or off".
Check the relevant .NET Framework options (e.g., 3.5 and 4.x) and click "OK".
Download and Install the Latest Versions:
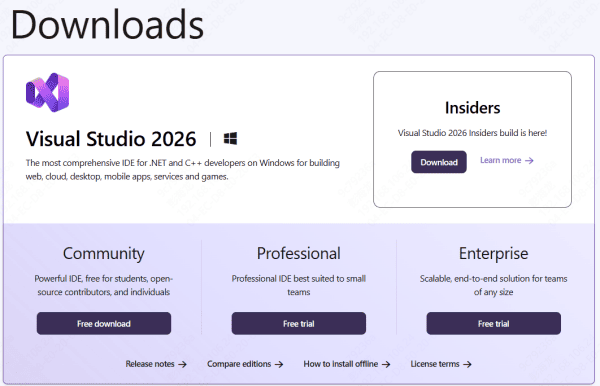
Visit Microsoft's official website to download the latest versions of Microsoft Visual C++ Redistributable and .NET Framework.
Install them and restart your computer.
5. Repair System Files
Run the System File Checker (SFC):
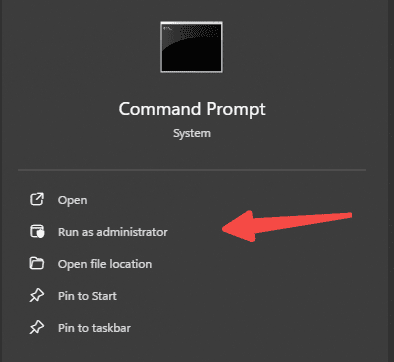
Press Win + S, search for "cmd", right-click Command Prompt, and select "Run as administrator".
Enter the following command: sfc /scannow
Wait for the scan and repair process to complete.
Run the DISM Tool:
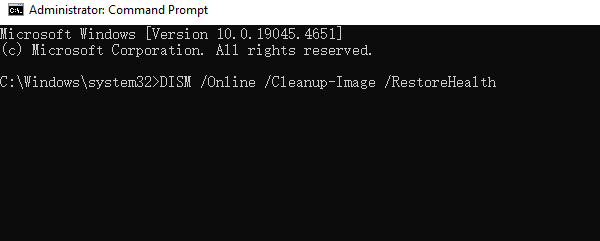
If SFC fails to fix the issue, run the following command: DISM /Online /Cleanup-Image /RestoreHealth
Restart the computer once the process is complete and check if the issue is resolved.
6. Modify Registry Values
Press Win + R, type "regedit", and press Enter.
Navigate to the Relevant Key: HKEY_LOCAL_MACHINE\SOFTWARE\
Locate abnormal values related to the problematic application.
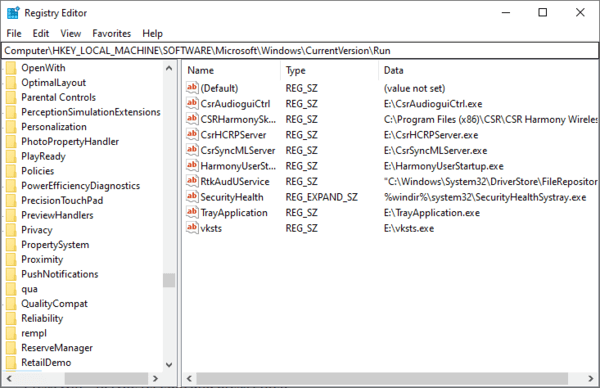
Right-click the target key and choose New or Modify to ensure the values match the application requirements.
Right-click the target key, select "Export", and save a backup file.
After making changes, restart your PC to apply them.
7. Check for Windows Updates
Press Win + I, navigate to "Update & Security > Windows Update".
Click "Check for updates". If updates are available, download and install them.