



Encountering the unarc.dll Error Code -1 can be frustrating, especially when installing or extracting large files during game or software setup. This error usually occurs when the extraction process fails due to missing, corrupted, or incomplete archive files, preventing the installation from finishing successfully. Although it may seem serious, this issue can often be resolved without reinstalling your entire system. In this guide, we will walk you through the most effective and quick methods to fix unarc.dll Error Code -1 and restore normal installation functionality.
What is unarc.dll and Why Does it Cause Error Code -1?
The unarc.dll file is a dynamic link library used by various programs to handle compression tasks such as extracting or unpacking large installation files or archives
When unarc.dll becomes corrupted, is missing, or is improperly registered, you may encounter the unarc.dll error code -1, which typically halts the extraction or installation process
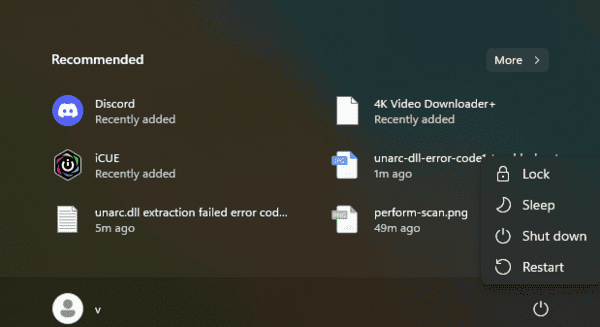
Step 1: Restart Your Computer
Sometimes, the issue can be as simple as a temporary glitch or a file lock that gets resolved after a restart
Close all applications
Restart your computer and then try launching the program or continuing the extraction process
Step 2: Free Up Disk Space
Insufficient disk space is a common cause of unarc.dll errors, especially when extracting large files
Check your disk space on the drive where you're installing or extracting files
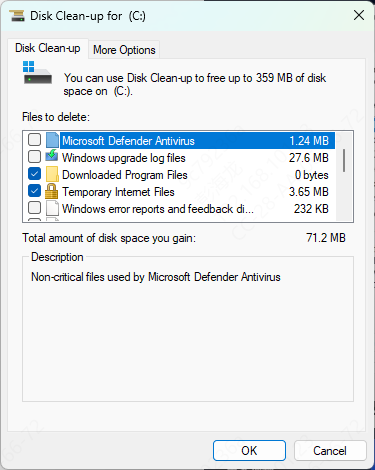
Use Disk Cleanup to remove unnecessary files such as temp files, system junk, or browser cache
Delete any unneeded files or move data to another drive or external storage
Step 3: Disable Antivirus Software Temporarily
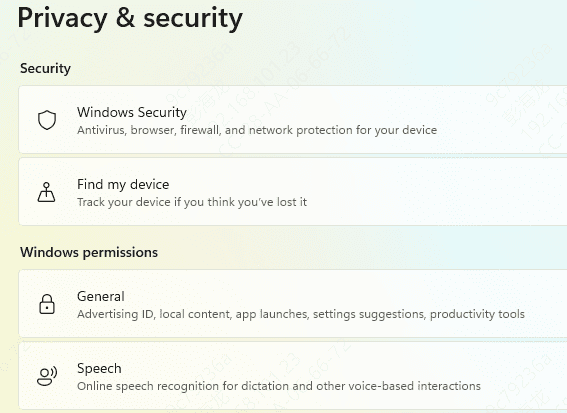
Antivirus software can sometimes incorrectly flag or block unarc.dll during installation, thinking it's a threat
Temporarily disable your antivirus program
Proceed with the installation or extraction process and check if the error is resolved
Once the process is complete, re-enable your antivirus to maintain protection
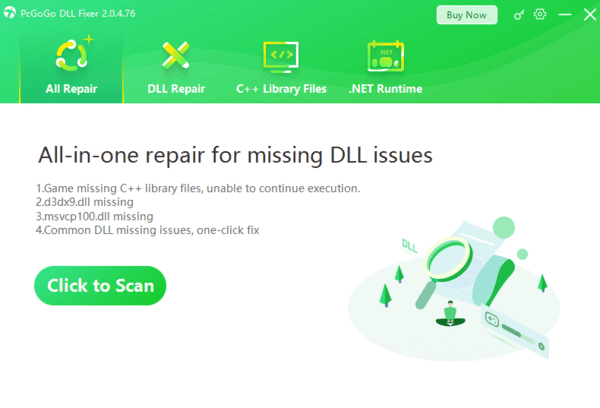
Step 4: Use PcGoGo DLL Fixer
If manual troubleshooting seems too complex, an automated tool like PcGoGo DLL Fixer can help scan and repair missing or corrupted unarc.dll files
Download and install PcGoGo DLL Fixer
Launch the program and click Scan to search for any missing or corrupted DLL files
Once the scan is complete, click Repair Now to restore unarc.dll and any other related issues
Restart your computer to complete the repair
Step 5: Run System File Checker (SFC)
Corrupted Windows system files may interfere with unarc.dll and cause error code -1
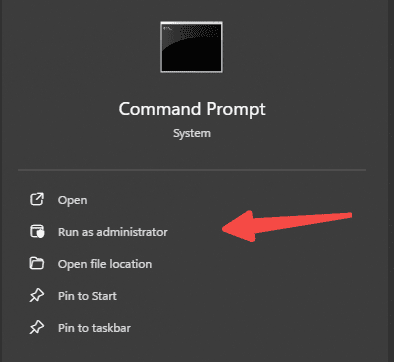
Open Command Prompt as Administrator
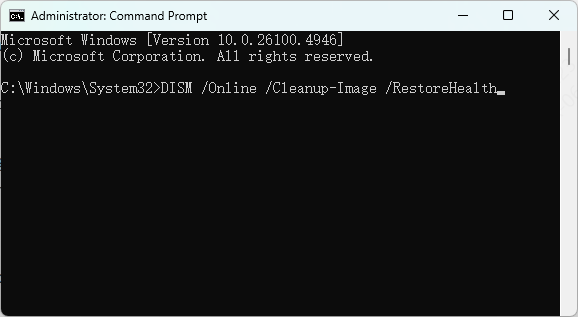
Type the following command and press Enter:
sfc /scannow
Allow the system to complete the scan and repair any corrupted files. Restart your computer after the scan completes
Step 6: Re-register unarc.dll
If unarc.dll is on your system but not properly registered, the system might fail to recognize it
Open Command Prompt as Administrator
Type the following command and press Enter:
regsvr32 unarc.dll
After registration is successful, restart your PC and try the extraction or installation again
Step 7: Reinstall the Affected Program
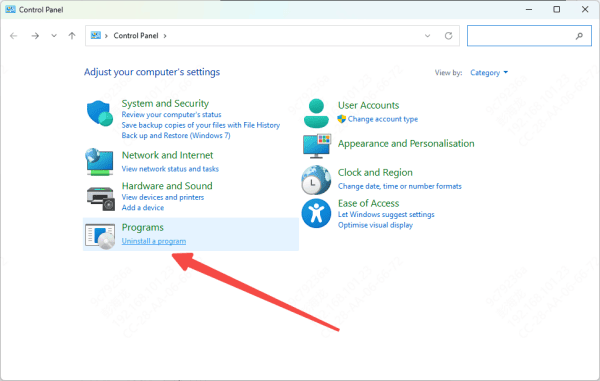
Reinstalling the program or game can replace corrupted or missing unarc.dll files, effectively fixing the error
Uninstall the program through Control Panel > Programs and Features
Download the latest version of the program from a trusted source and reinstall it
Check if the issue persists after reinstallation
Step 8: Update Window
Outdated system files or drivers may lead to unarc.dll errors
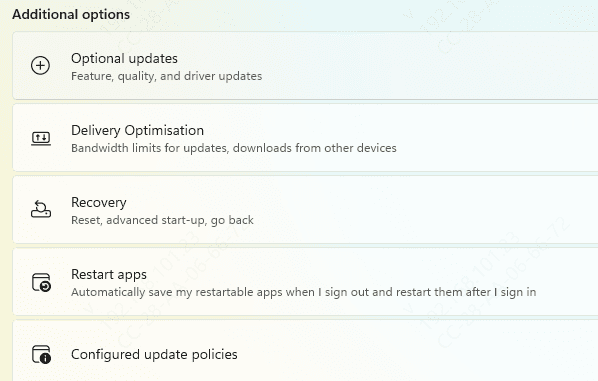
Go to Settings > Update & Security > Windows Update
Install any available updates to ensure your system files are up to date
Conclusion
The unarc.dll error code -1 is a common issue, but fortunately, it's relatively easy to fix using the methods outlined above. Whether you need to free up disk space, run System File Checker, or use an automated repair tool, these steps will help you restore unarc.dll and complete your installation or file extraction process successfully. By following this guide, you should be able to resolve the issue and get back to enjoying your software or games without further interruptions.