

Installing OpenClaw takes about 5 minutes. You will need Node.js version 22 or higher, Git, and at least 8GB of RAM. The quickest way is to install it globally with one command: npm install -g openclaw@latest. Then run the onboarding wizard to finish the setup. If you prefer not to install anything locally, you can use the hosted version on OpenClawTool and get a ready-to-use OpenClaw instance in seconds.
Before You Start
Make sure your system meets these requirements:
Memory (RAM): Minimum 8GB, recommended 16GB or more
Storage: At least 10GB free, 20GB or more recommended
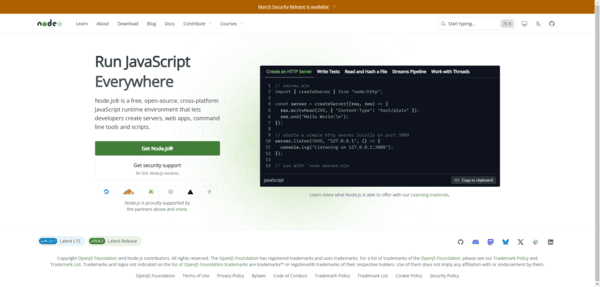
Node.js: Version 22 or newer (latest LTS recommended)
Operating System: Windows 10 (WSL2 strongly recommended), macOS 12 or later
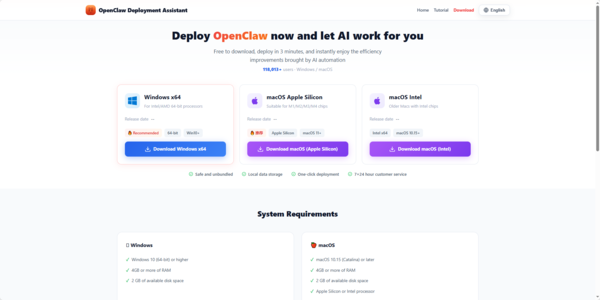
Option 1: Use OpenClawTool (Recommended for Beginners)
The easiest way is to skip local installation completely and use the hosted service at OpenClawTool
It requires zero configuration, runs 24/7 without keeping your computer on, and always uses the latest version of OpenClaw

Option 2: Local Self-Hosted Installation
There are two main ways to install locally: Global install (recommended for most users) and Build from source (for developers who want full control).
Recommended: Global Installation
Run these commands in your terminal:
npm install -g openclaw@latest
openclaw onboard --install-daemon
The --install-daemon flag sets OpenClaw up as a background service so it keeps running even when you close the terminal
After installation, check everything is working with:
openclaw doctor
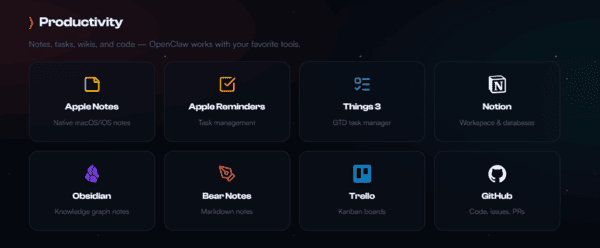
The onboarding wizard will guide you through setting up gateways, workspaces, channels, and skills
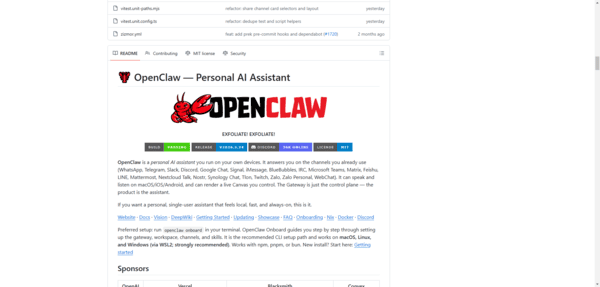
Build from Source (For Developers)
If you want to contribute or need maximum customization, build from the GitHub repository.
Clone the repository:
git clone https://github.com/openclaw/openclaw.git
cd openclaw
Install dependencies and build:
pnpm install
pnpm ui:build
pnpm build
Run the onboarding wizard:
pnpm openclaw onboard --install-daemon
Platform-Specific Instructions
Windows
It is strongly recommended to use WSL2 on Windows. If you must use native Windows:
Install Node.js v22+ LTS from nodejs.org
Install Git for Windows
Install pnpm
Restart your terminal
Then clone the repository, run pnpm install, pnpm ui:build, pnpm build, and finally start the onboarding wizard
macOS
The easiest method is using Homebrew:
First install Homebrew if you don't have it:
/bin/bash -c "$(curl -fsSL https://raw.githubusercontent.com/Homebrew/install/HEAD/install.sh)"
Then:
brew install node git pnpm
After that, clone the repository, install dependencies, build, and run the onboarding wizard as shown above.
Note: OpenClaw may need screen recording and accessibility permissions. Go to System Settings > Privacy & Security > Accessibility and add your terminal app if prompted
Troubleshooting Common Issues
Permission errors with pnpm: Avoid using sudo. Use nvm to manage Node.js versions instead
Node.js version too old: Switch with nvm install 22 && nvm use 22
Port already in use: Specify a different port with openclaw gateway --port 18790
After installation, you can always run diagnostics with: openclaw doctor
Test if it's working: openclaw agent --message "Hello, are you working?"
